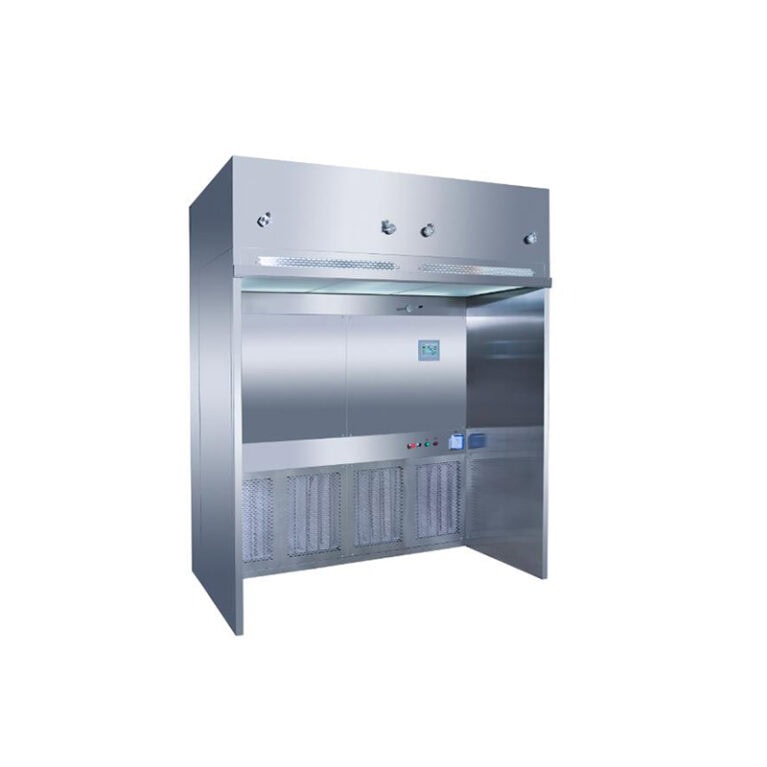
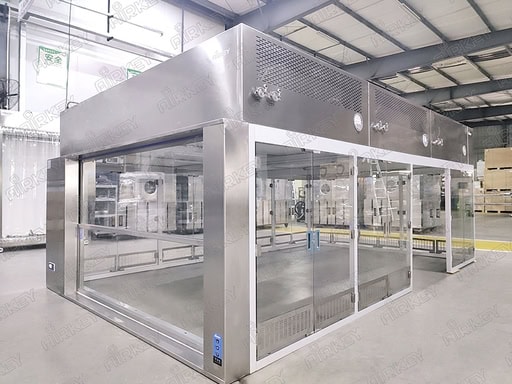
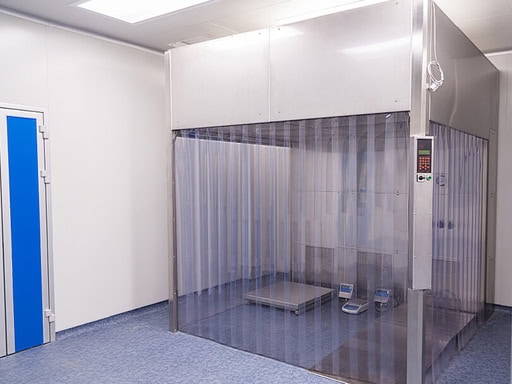
The core difference between a negative pressure weighing chamber and a laminar flow hood lies in the pressure direction, protection goals, air flow organization, and application scenarios: A negative pressure weighing chamber is a negative pressure isolation, focusing on preventing the escape of dust / harmful substances and protecting personnel and the environment; a laminar flow hood is a positive pressure laminar flow, focusing on preventing external pollution intrusion and protecting product cleanliness. I. Core Principle and Pressure State Negative Pressure Weighing Chamber (Negative Pressure Weighing Hood) Pressure: The internal pressure is relatively lower than the external pressure (-10 to -30 Pa), with air flowing from the outside into the chamber and not escaping inside. Air Flow: Vertical single-direction laminar flow, with some circulation and some filtered before being discharged externally, to prevent the diffusion of dust / aerosols. Protection: Protecting personnel and the external environment, preventing the escape of material dust, active pharmaceuticals, and harmful reagents, and preventing cross-contamination. Laminar flow hood (clean laminar flow cabinet) Pressure: Internal is slightly positive pressure relative to the outside, clean air flows “blowing out” from the inside to prevent external contamination from entering. Air flow: Vertical / Horizontal unidirectional laminar flow (ISO
Conclusion: Under normal maintenance, the negative pressure weighing chamber typically lasts for 8–12 years, and the laminar flow hood typically lasts for 10–15 years; the core components (fans, electrical control, HEPA) have a shorter lifespan and need to be replaced in the middle stage. I. Negative Pressure Weighing Chamber (Whole Machine) Design Life: 8–12 years (industry standard) Good Maintenance: Up to 10–15 years (304 stainless steel, properly sealed, regular verification) Harsh Conditions / Minimal Maintenance: 5–8 years (highly active dust, acid-base corrosion, air leakage, not replacing filter materials in time) Core Component Lifespan Fan (supply + exhaust): 5–8 years (approximately 60,000 hours) Control System (PLC, differential pressure sensor): 6–8 years Supply HEPA: 1–2 years; Exhaust HEPA: 0.5–1 year (high dust load) Sealing / Soft Curtains: 0.5–1 year (frequent replacement) II. Laminar Flow Hood (Whole Machine) Design Life: 10–15 years (simple structure, positive pressure, low dust) Good Maintenance: Up to 15–20 years (stainless steel / zinc-aluminum plate coating, only replace HEPA, clean environment) Minimal Maintenance / High Humidity: 8–10 years (line aging, box rusting, uneven wind speed) Core Component Lifespan Fan: 8–10 years (6–10,000 hours, single fan, low load) Control System: 8–12 years (simple speed regulation, no negative pressure interlock) Supply
1. Environmental conditions for use Temperature and humidity: High humidity and frequent washing environment, prefer 304 stainless steel; dry and regular environment can choose aluminum alloy. Corrosion: Presence of acid and alkali gases, organic solvents, frequent ozone / peracetic acid disinfection, do not use ordinary carbon steel, choose 304 stainless steel. Dust and cleanliness level: High cleanliness level requires smooth surface, no dust accumulation, easy to wipe, avoid rough and easily dusty ordinary steel. 2. Industry compliance requirements Pharmaceuticals, medical devices, food, biological laboratories: Must comply with GMP, require corrosion resistance, water washability, no precipitation, easy cleaning, prefer 304 stainless steel. Electronics, semiconductors, optoelectronics: No special compliance requirements, focus on cost performance, choose aluminum alloy. 3. Service life and durability Long-term fixed use (more than 8 years): Aluminum alloy, 304 stainless steel. Temporary transition, short-term use (3–5 years): Can choose galvanized square steel, powder-coated carbon steel, control costs. 4. Structural load-bearing and stability Large shed area, many FFU, need to install lamps / pipelines: Select stronger thickened aluminum alloy or stainless steel to avoid frame deformation. Small and simple clean shed: Ordinary standard aluminum profiles can meet requirements. 5. Budget cost Cost ranking: Powder-coated carbon steel < Aluminum alloy <
I. Unique Identification and Traceability (One Item, One Code; One Machine, One Number) Each air supply ceiling unit is assigned a unique equipment number, installation area, and cleanliness level. These details are fixed in the record header and are not reused or misnumbered. All records, filter ledgers, pressure difference data, and maintenance records are bound to the same equipment number, allowing for the retrieval of the full cycle archives by the equipment number at any time. Filters, fans, seals and other components are individually numbered and linked to maintenance records, enabling traceability of the replacement batch, supplier, and installation time. II. Time Chain Traceability (No Interruption, No Skipping Periods) Records are meticulously kept according to daily inspections, weekly maintenance, monthly pressure difference checks, and quarterly leak detection cycles. The dates are consecutive, without gaps or skipped days. During production, downtime, and holidays, reasons must be noted in text form. Blank dates are not allowed. Ensure the time chain is complete and traceable. Each record must precisely fill in the year / month / day / hour and minute to avoid only writing the date without the specific time. III. Personnel Traceability (Responsibility Assigned to Individuals) The principle of “who operates,
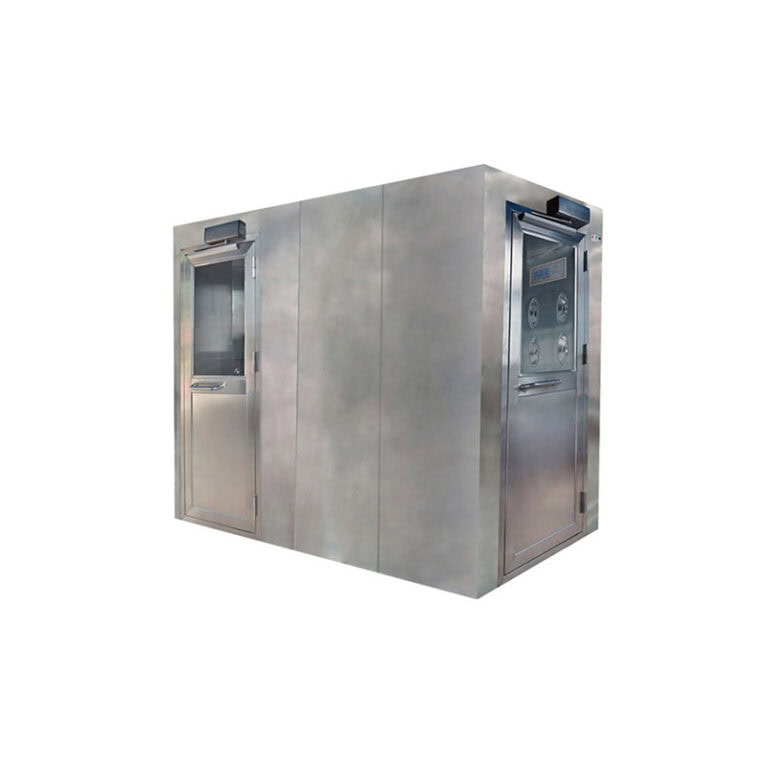
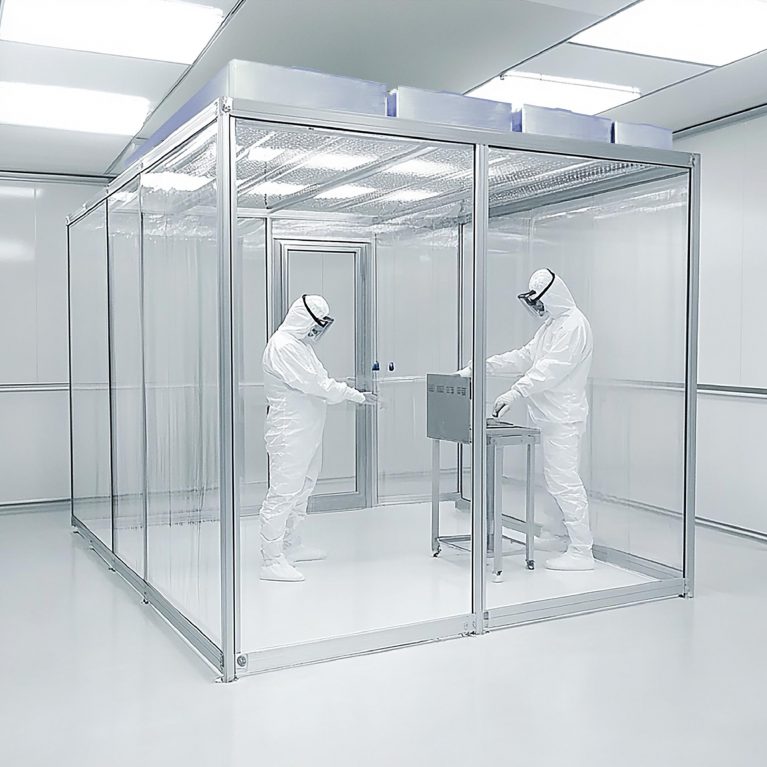
The automatic air shower room, as the core purification buffer equipment in a clean environment, mainly functions to remove dust, hair, dander, microorganisms and other contaminants on the surfaces of personnel and materials, and to prevent non-clean air from invading the clean area. It is suitable for various industries and scenarios with strict standards for environmental cleanliness, hygiene safety and production accuracy. The specific application fields and sub-scenarios, as well as the core adaptation requirements are as follows: 1. Pharmaceutical and medical device industry (core essential field) This industry has the top standards for cleanliness and sterility. The automatic air shower room is a necessary supporting equipment for GMP certification and sterile production. It is mainly applied in chemical pharmaceutical workshops, biological pharmaceutical workshops, vaccine research and production workshops, sterile injection production lines, hospital sterile operating rooms, medical device workshops (including disposable consumables, implantable devices), biological safety laboratories, etc. Its core function is to purify the personnel, laboratory personnel and small medical materials entering the clean area, prevent dust, bacteria and microorganisms from contaminating, ensure the quality of drugs, experimental safety and the sterility of medical devices, avoid cross-infection and production compliance risks. 2. Electronics and semiconductor new energy industry
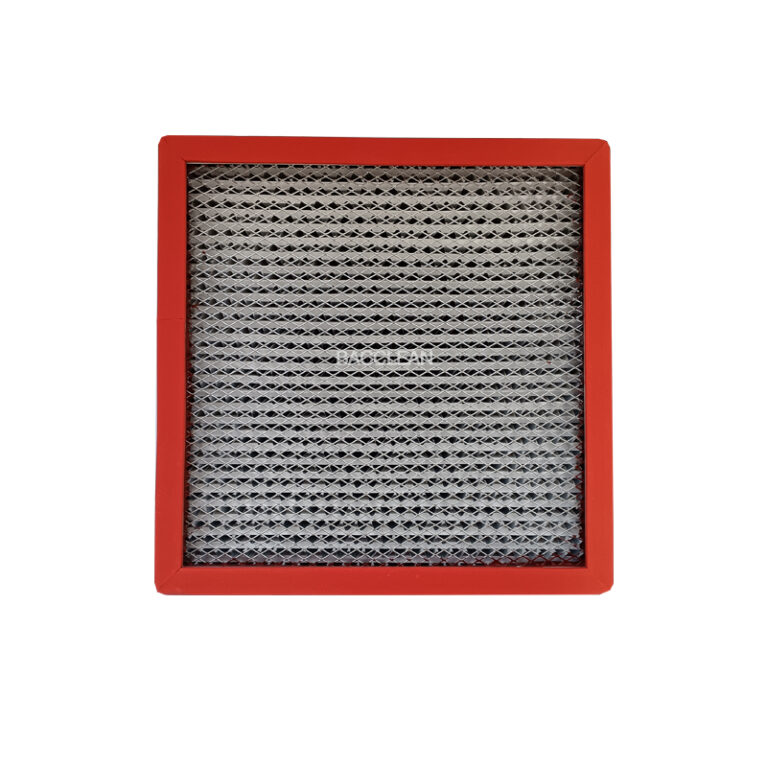
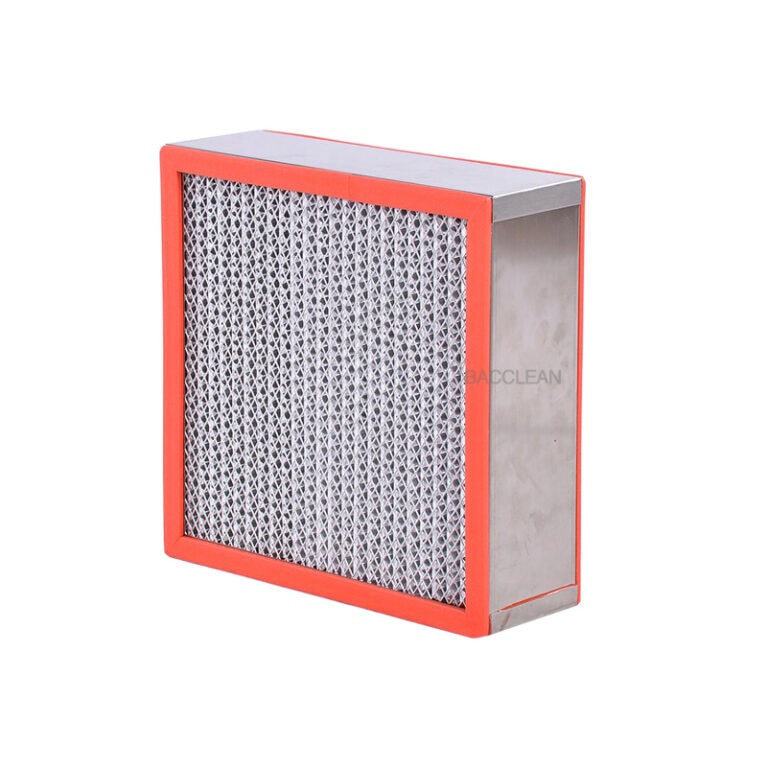
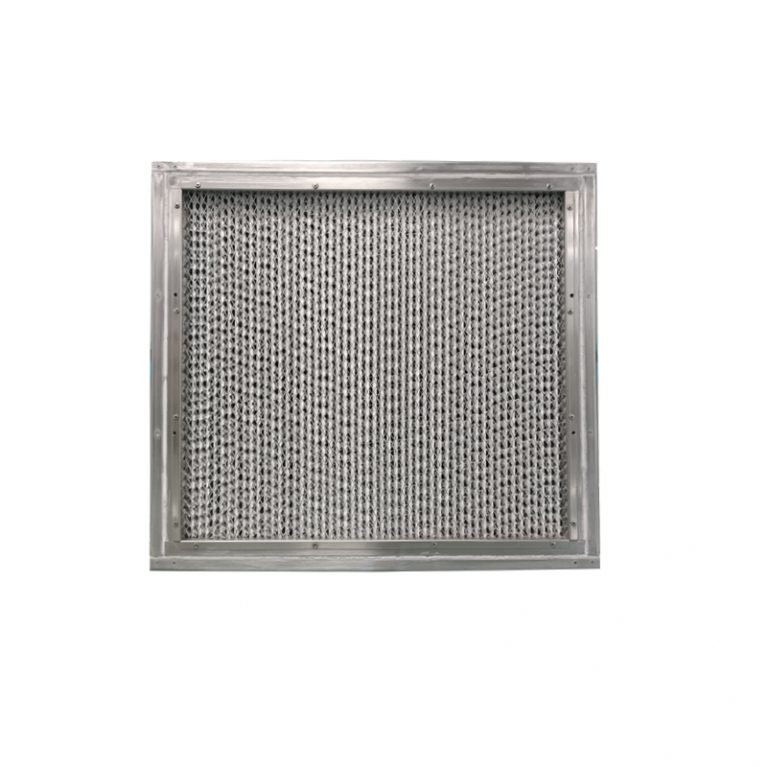
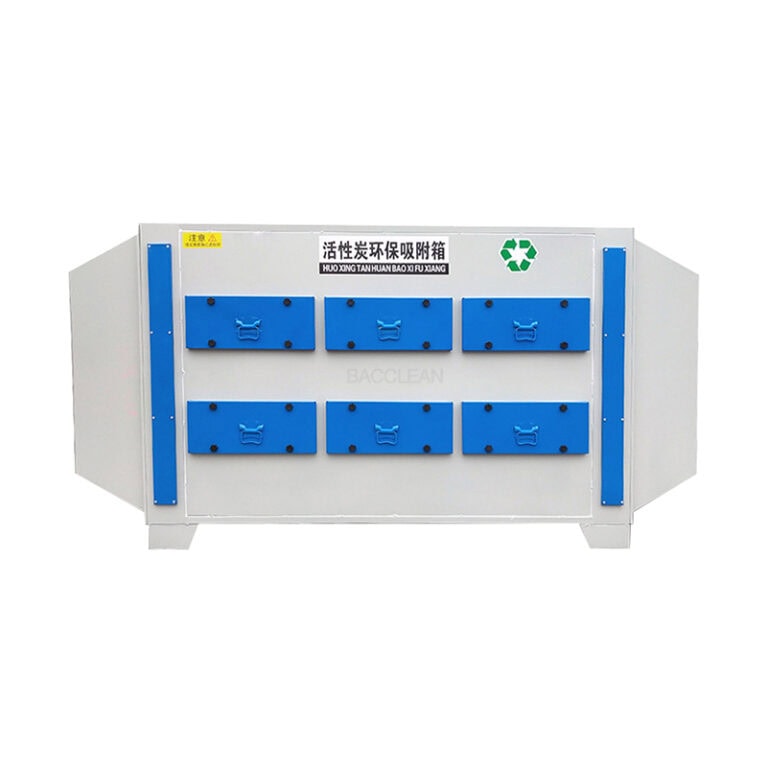
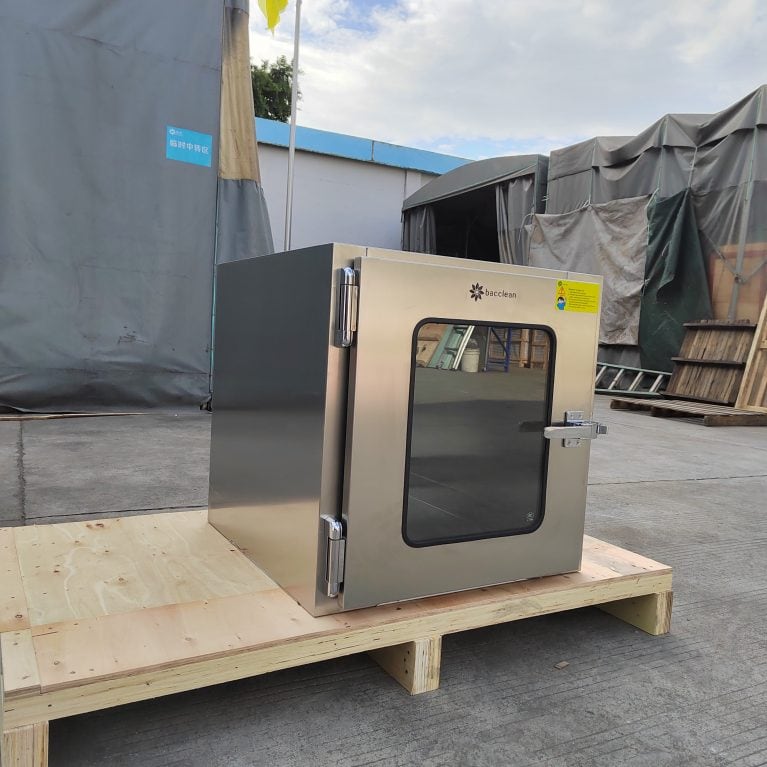
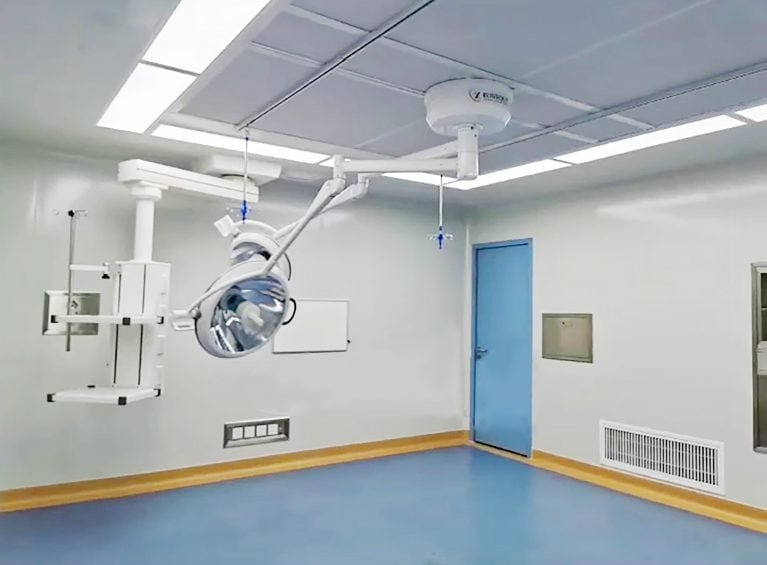
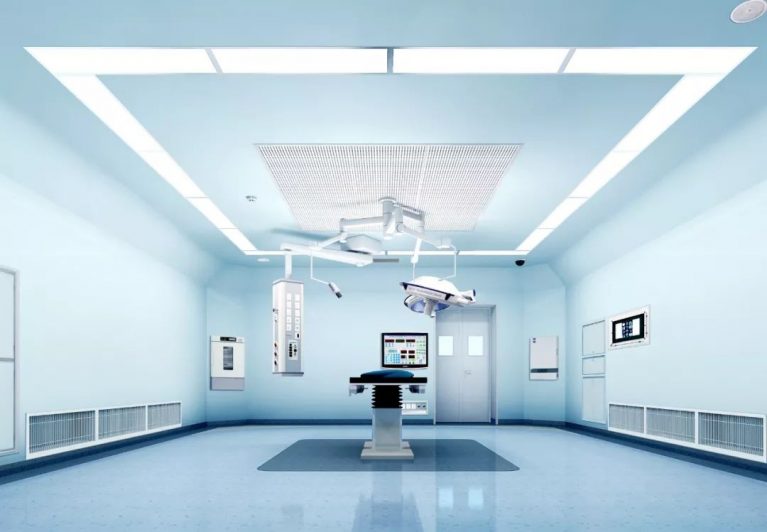
I. Working Principle The negative pressure weighing chamber is a type of local purification and negative pressure isolation equipment. The core lies in the use of vertical unidirectional flow and stable negative pressure to prevent dust from spilling out and protect personnel and the environment, meeting the protection requirements of GMP for the weighing of highly active/toxic materials. 1. Airflow organization (vertical unidirectional flow) Three-stage filtration: Return air first passes through the primary filter (for large particles) → the intermediate filter (pre-filter, protecting HEPA) → the high-efficiency HEPA (with a 0.3μm retention rate ≥ 99.99%). Air flow distribution: The fan sends the clean air into the static pressure box, 90% of which is vertically downward (forming a class 100 / ISO5 clean area), 10% of which is a small amount of exhaust air, maintaining a relative negative pressure of -5 to -15 Pa in the operation area. Negative pressure isolation: Air only enters and does not exit. Dust is filtered by the airflow and does not escape, avoiding cross-contamination and occupational exposure. 2. Core structure Box: 304 stainless steel, seamless welding, corrosion-resistant, easy to clean. Filter system: Primary G4, intermediate F8, high-efficiency H14/ULPA. Fan + static pressure box: Provide stable
I. Standard Type Clean Transfer Cabinet Installation Plan (General Version) 1. Pre-installation Preparation Confirm the thickness of the wall, the cleanliness level of the area, and the opening dimensions. Reserve power interface (220V/50Hz) in advance. Check the appearance of the equipment and its accessories (sealing strips, ultraviolet lamps, interlock devices, fasteners) to ensure they are complete and in good condition. Clean the installation area to prevent dust and debris from entering the clean area. 2. Wall Hole Opening and Positioning The opening size should be 10-20mm larger than the outline of the transfer window to facilitate adjustment and sealing. Ensure the transfer window is installed horizontally and vertically to prevent deformation and poor sealing. After the box is embedded in the wall, fix it firmly with expansion bolts without any shaking. 3. Sealing Construction (Key Anti-Pollution) Use clean sealing glue to seal the gaps between the box and the wall as a whole. There should be no holes or cracks. The sealing strip of the door frame should be flat and in close contact. There should be no light leakage or air leakage after closing the door. After sealing all the gaps, conduct soap bubble leak detection / visual inspection
The application scenarios of paper frame high-efficiency filters in the automotive manufacturing industry revolve around “ensuring production accuracy, improving product quality, and safeguarding the working environment”. Based on the specific requirements of each core process in automotive manufacturing, the details are as follows: 1. Body painting workshop (core application scenario) Painting is one of the processes with the highest cleanliness requirements in automotive manufacturing. Paper frame high-efficiency filters are mainly installed in the dust-free spray booths, drying rooms, ventilation systems, and end air supply areas of the painting workshop. They use H13-H14 level high-efficiency filtration specifications, mainly filtering dust, particles, fibers, and other impurities in the air that are 0.3μm and below, to prevent them from adhering to the vehicle body surface and avoiding problems such as run-off, pinholes, and particle defects after painting, ensuring the smooth and uniform paint surface of the vehicle and meeting the appearance and anti-corrosion standards of automotive painting. They are also suitable for the high-temperature and slightly corrosive environment of the painting workshop, and some use waterproof and oil-resistant paper frames to extend their service life. 2. Precision processing workshop for automotive components The processing of core automotive components (such as engine blocks, transmissions,
To determine whether the washable air filter of the sub-frame needs cleaning, the core lies in the three dimensions of “appearance observation, operating status, and usage period”. Combined with the structural characteristics and usage scenarios of the filter, the following six intuitive methods can be used for judgment. The operation is simple and no professional tools are required, and it is suitable for various scenarios such as home and commercial use. 1. Visual inspection of the filter material (the most direct and commonly used method): 1. Observe the surface of the filter material: Turn off the power of the equipment, remove the sub-frame and take out the filter material. Observe the surface of the filter material. If the surface of the filter material is covered with obvious dust, hair, or flocculent substances, or there are gray-black stains or slight oil stains attached, and the visible dust thickness exceeds 0.5mm, it indicates that the filter has reached the cleaning standard and needs to be cleaned in time. 2. Inspection of the sub-frame and mother-frame structure: Check the gap of the sub-frame and the buckle area. If there is obvious dust accumulation, or even dust lumps and unpleasant odors, not only the
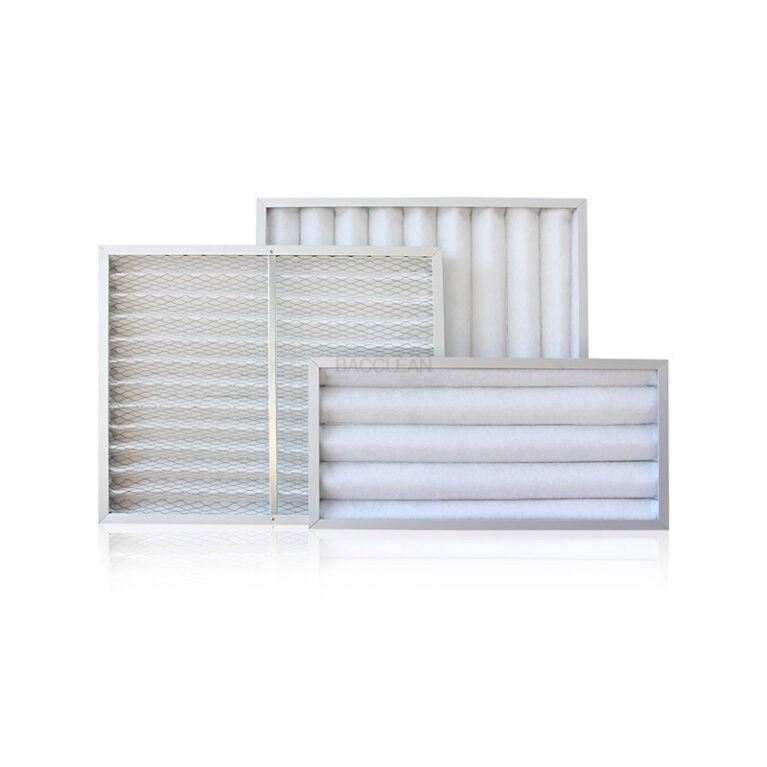
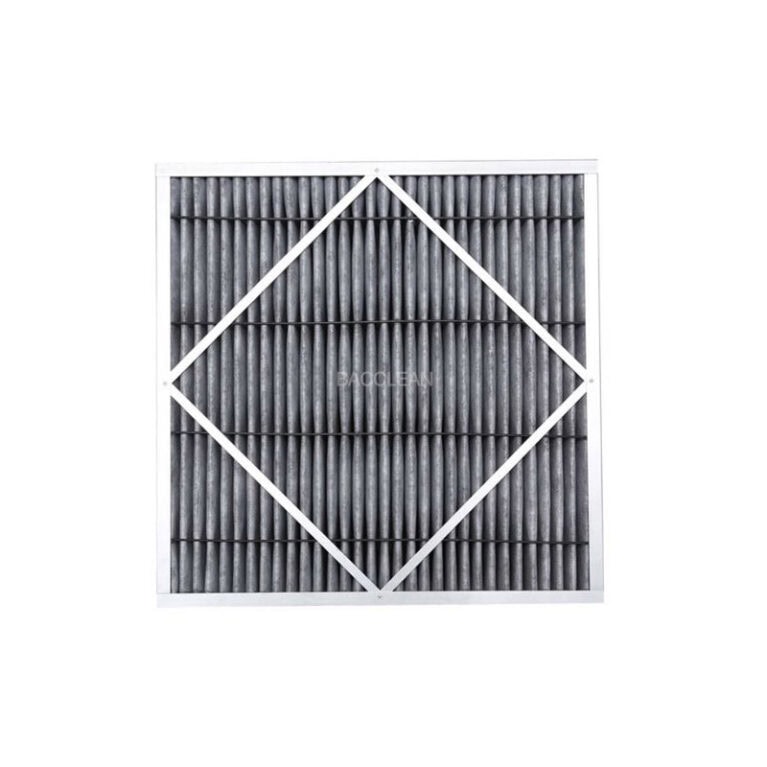
The normal service life of each filter (in a regular environment) 1. Primary filter (coarse filter) Purpose: To intercept hair, large dust, and clumps Can be washed and reused Normal lifespan: 3 to 6 months Severe clogging, deformation after cleaning, air leakage → Replace earlier 2. HEPA high-efficiency filter (core filter) Purpose: PM2.5, dust, aerosols, bacterial carriers Not washable, must be replaced when expired For home / office: 6 to 12 months For hospitals / clean rooms / crowded places: 3 to 6 months In heavy smog and with large dust levels: 1 to 3 months 3. Activated carbon filter (odor removal / formaldehyde removal) Purpose: Formaldehyde, odor, VOC, cooking fumes Adsorption saturation leads to failure, not renewable In regular environment: 3 to 6 months In newly renovated areas, with strong odor, in smoking environments: 1 to 2 months 4. Composite filter (HEPA + activated carbon integrated) Commonly used in home all-in-one machines Lifespan: 6 to 12 months In heavily polluted environments: 3 to 6 months The key factors affecting lifespan (very important) Usage duration: 8 hours per day vs 24-hour operation, lifespan differs by 2 to 3 times Environmental cleanliness: Clean workshops, hospitals, renovated rooms → Lifespan significantly shortened
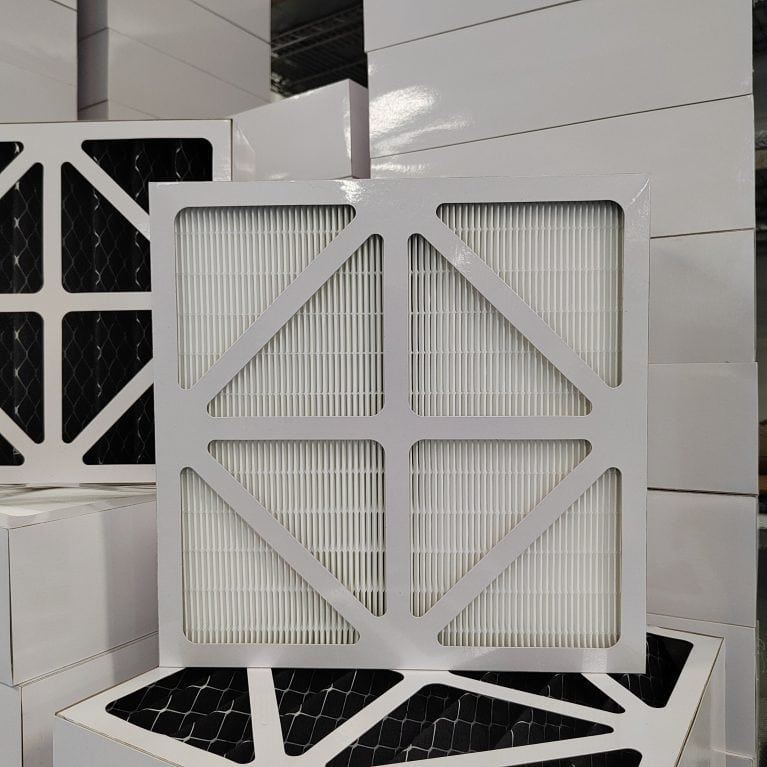
Tools Required for Installing High-Efficiency Air Filters in the Supply Air Ceiling I. Basic Installation Tools Cross/flat-head screwdrivers Socket wrenches, adjustable wrenches Hex wrenches (commonly 4mm, 5mm) Rubber mallet (for gentle tapping to position, without damaging the filter frame) Measuring tape, level (for checking installation level) Scissors, utility knife (for cutting sealant strips and protective films) II. Sealing and Cleaning Tools Neutral silicone sealant, sealant gun Lint-free cloth, lint-free wiping cloth 75% medical alcohol / cleanroom-specific cleaner Handheld vacuum cleaner (industrial grade / cleanroom type, for cleaning floating dust in the static pressure box) Disposable PE gloves, clean gloves (strictly prohibit touching the filter material with bare hands) III. Leak Detection and Testing Tools (GMP / Operating Room Essential) PAO aerosol generator Aerosol photometer (leak detector) Pressure gauge / pressure indicator (to measure initial resistance) Wind speed meter / thermal sensitive wind speed meter (to measure air supply uniformity) Particle counter (for cleanliness verification, optional) IV. Safety and Auxiliary Tools Ladder / mobile scaffolding Flashlight, headlamp (for lighting inside the static pressure box) Lashing straps, electrical tape (for organizing cables) Warning tapes, equipment identification plates (maintenance tags) Marker pen, label paper (for recording filter serial number, initial resistance) V. Minimalist
I. Daily Inspection (Per Shift / Daily) Observe the air outlet Check for uneven airflow, vibration, or abnormal noise Look for discoloration, accumulated dust, or mold spots Check the pressure difference Record the current pressure difference of the high-efficiency filter If the pressure difference suddenly increases rapidly, it indicates that the front-end filter has failed or is clogged Prohibited Actions It is strictly forbidden to have dust, unpacking, sanding, or spraying large amounts of disinfectant under the high-efficiency air outlet It is strictly prohibited to poke, scrape, or collide with the uniforming plate of the air outlet II. Weekly Maintenance Surface Cleaning Use a lint-free cloth and 75% alcohol to gently wipe the uniforming plate and frame Do not use hard brushes, high-pressure air, or strong acids and alkalis Check the seal. Check if the filter strips and rubber seals are loose, cracked or have peeled off. Tighten loose screws (uniformly and evenly in opposite directions). Archive the pressure difference records. Form fixed records to facilitate the judgment of the blockage trend. III. Monthly Maintenance Pressure difference analysis Compare with the initial pressure difference If it rises by more than 50%, it requires special attention Check the surrounding of the