

1. Pre-installation Preparation: Check the environment first before handling equipment
Before installing the horizontal flow clean bench, confirm the on-site environment meets operating requirements. The equipment shall be placed indoors, away from doors & windows, air conditioning supply vents, corridors and high foot-traffic zones to prevent external airflow from blowing directly into the working zone. The installation site shall also keep away from vibration sources such as centrifuges, shakers and air compressors, to avoid vibration disturbing fan operation and airflow stability.
For environmental parameters: Ambient temperature is recommended within 15℃~35℃, relative humidity generally ≤75%RH, subject to equipment manual and on-site process requirements. The floor shall be flat, dry and easy to clean. Do not install in dusty, oily, humid or corrosive gas environments.
For power supply: Verify the socket voltage and frequency match the equipment nameplate, normally 220V/50Hz with reliable earthing; grounding resistance is required ≤4Ω. Maintenance clearance shall be reserved around the unit: ≥30cm~50cm at the back and sides for maintenance. Front operation space ≥1m. The top and rear shall be accessible for filter replacement and electrical & fan maintenance.
2. Unpacking Inspection: Verify before installation
Do not power on immediately after goods arrival. Complete unpacking acceptance first. Check whether outer package is intact without impact, dampness or tipping marks. After unpacking, verify model, specification and serial number against contract, and count accessories: power cord, user manual, certificate, filters, tools, UV lamp, illuminating lamp, leveling feet etc.
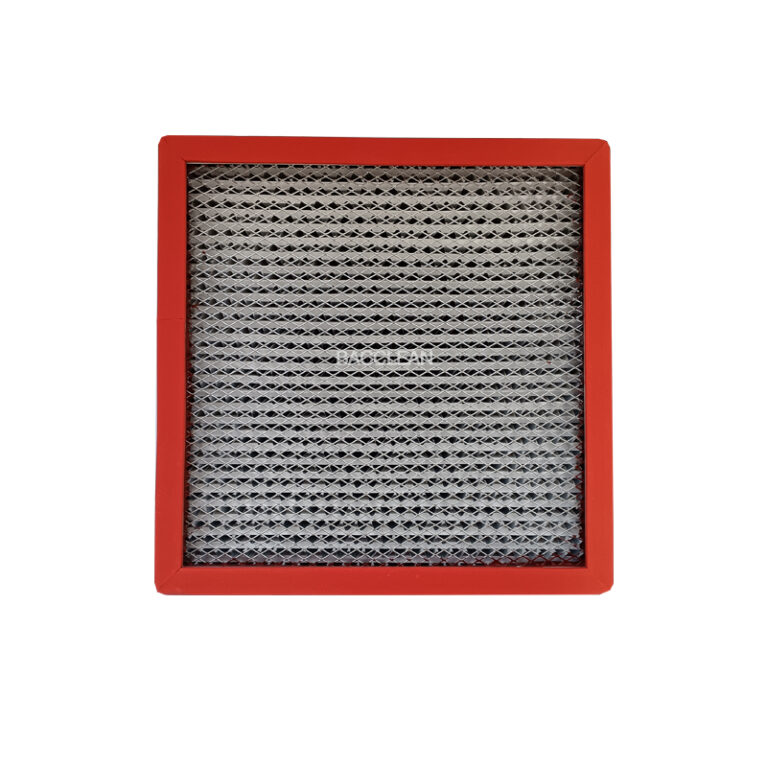
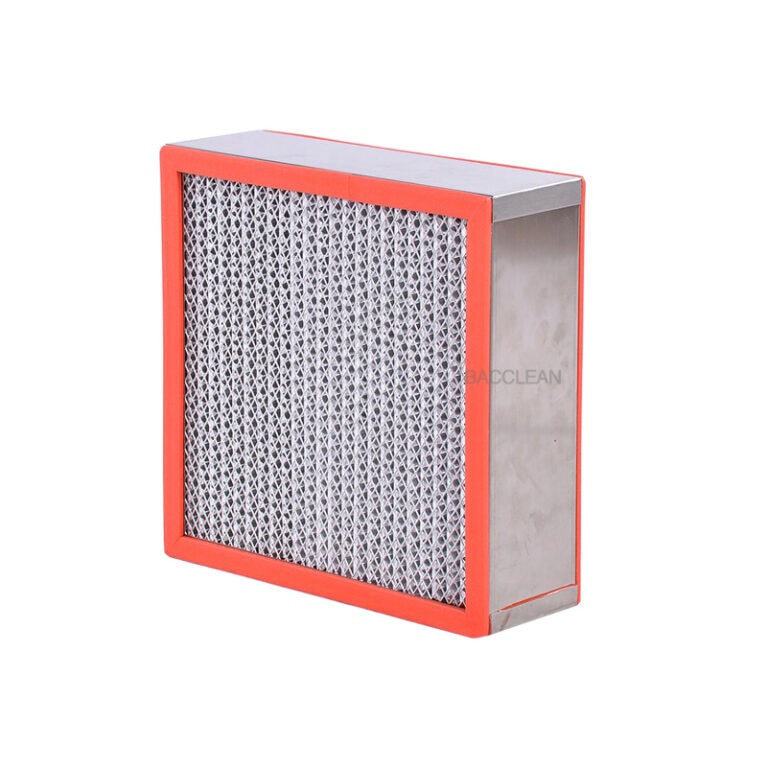
Focus on checking the integrity of HEPA filter packaging. Confirm filter paper has no damage or deformation, and frame sealing strip remains intact. HEPA filter is the core component. Always hold the frame during handling, never touch filter media. Check technical documents: operation manual, electrical schematic diagram, factory test report and filter certificate, which shall be retained for installation, commissioning and future acceptance.
If cabinet deformation, glass breakage, damp filters or missing accessories are found, suspend installation and contact manufacturer or supplier promptly.
3. Positioning & Installation: Leveling, sealing and earthing are mandatory
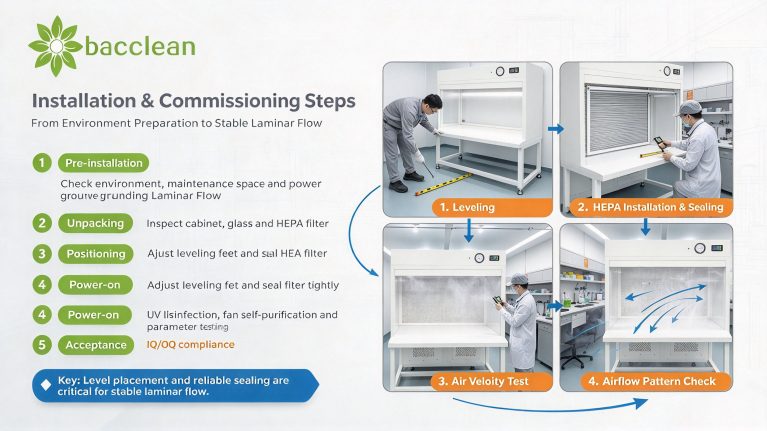
After moving the bench to the designated location, adjust bottom leveling feet to stabilize the unit without shaking. Use a spirit level to check the flatness of work surface. Uneven placement will impair airflow uniformity and fan stability. If equipped with casters, lock wheels after positioning. For double-person or large units, fix the unit as specified in manual to prevent shifting when necessary.
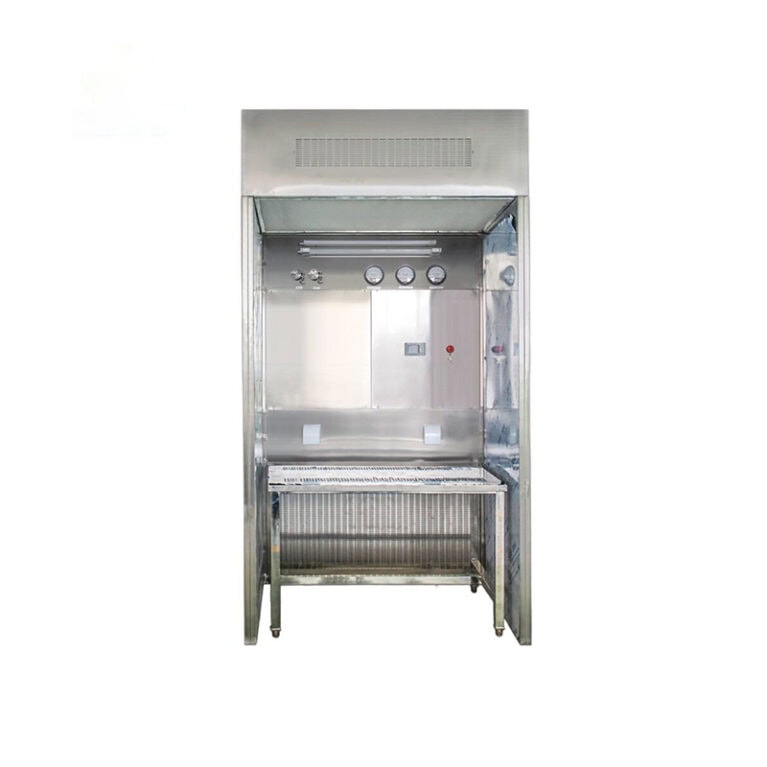
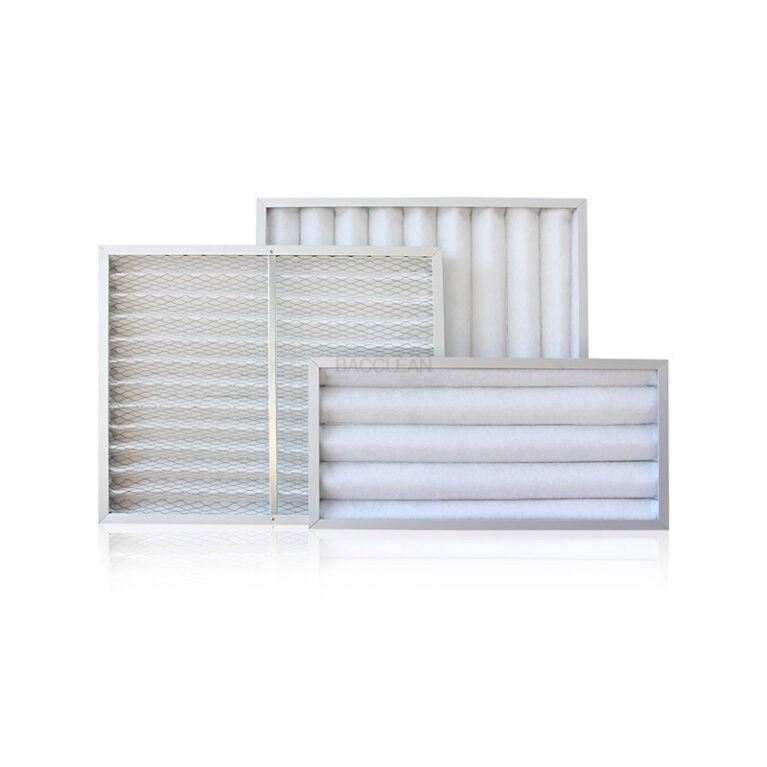
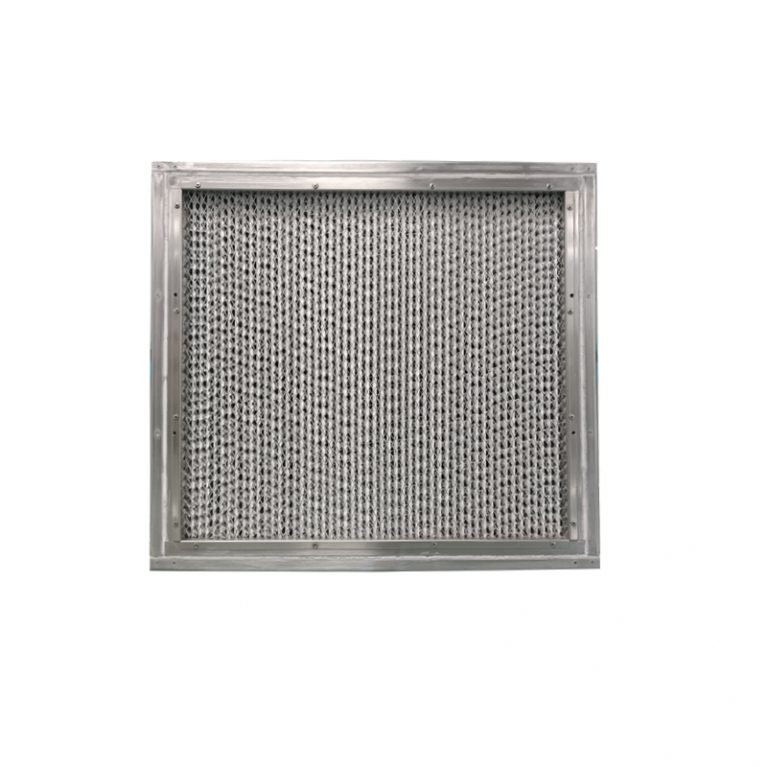
When installing filters, confirm airflow marking complies with equipment design. For horizontal flow clean bench, HEPA filter is normally mounted at the rear of working zone, delivering clean air forward horizontally. Before installation, inspect sealing gasket, compression frame and rubber seal. No obvious gaps are allowed between filter frame and cabinet body. Install pre-filter at air inlet as required, to prevent unfiltered air from entering fan and HEPA filter.
Before electrical connection, ensure power switch is OFF. Match voltage requirement and connect earthing terminal reliably. Do not connect the equipment to sockets without ground wire. For three-phase power units, verify fan rotation direction. If reverse rotation occurs, cut off power immediately and ask professional personnel to adjust phase sequence.
4. Power-on Commissioning: From no-load self-purification to parameter testing
After installation, do not start experiments directly. Complete no-load commissioning first.
-
Clean working zone: Wipe work surface, side walls, rear wall and glass window with 75% alcohol or suitable disinfectant. Take care not to block air inlet and outlet grille.
-
UV disinfection: Close front window or operation opening, turn on UV lamp for 20~30 minutes. Personnel must leave during UV operation to avoid skin and eye injury.
-
Fan self-purification: Switch off UV lamp then start fan, run under no-load condition for 10~30 minutes to stabilize airflow and exhaust residual ozone and particles.
-
Function check: Test fan speed regulation, lighting lamp, UV lamp, front window lifting, alarm, differential pressure display and timer in sequence. Alarm shall trigger when front window opening exceeds set limit.
-
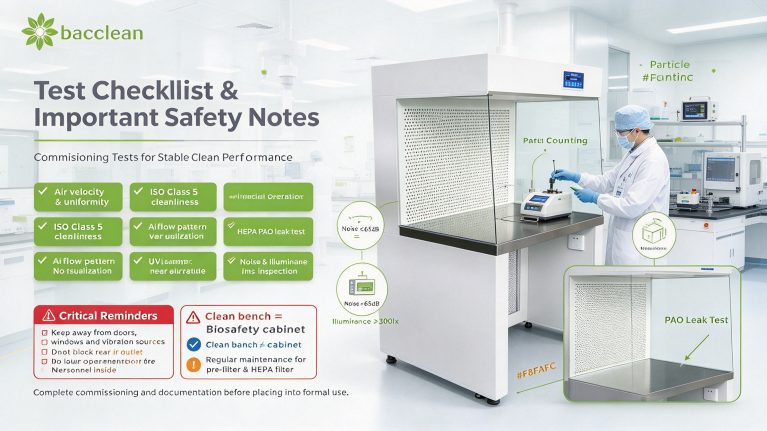
Air velocity test: Measure wind speed at air outlet surface or specified test points with anemometer. The operating wind speed of horizontal flow clean bench is generally within 0.25m/s~0.4m/s or 0.3m/s~0.5m/s, subject to manual and applicable standards. Wind speed non-uniformity at measuring points shall not exceed ±20%.
-
Cleanliness test: After stable no-load operation, use particle counter to detect cleanliness of working zone. Normally ISO Class 5 is required: particles ≥0.5μm ≤3520 particles/m³, particles ≥5μm ≤29 particles/m³.
-
Airflow pattern inspection: Use smoke generator or smoke pen to visualize airflow. Air inside horizontal flow bench shall flow horizontally from rear to front steadily without obvious recirculation, vortex or dead zones.
-
HEPA leak test: For high-standard projects, perform PAO/DOP integrity test for HEPA filter. Scan filter surface, frame and sealing area, leakage rate is generally required ≤0.01%.
-
Noise & illuminance test: Noise shall not exceed 65dB during normal operation; average illuminance of working zone ≥300lx.
5. Acceptance & Documentation: Put into service only after passing commissioning
After commissioning, organize installation and commissioning records including equipment model, serial number, installation location, ambient temperature & humidity, measured wind speed, cleanliness result, leak test report, noise & illuminance data, function inspection and abnormality handling records. For pharmaceutical, food and laboratory compliance projects, retain documents following IQ/OQ guidelines for future audit and re-verification.
Key Notes for Beginners
✅ Do not install facing doors/windows: External airflow will destroy horizontal laminar flow and reduce clean performance.
✅ Do not block rear air outlet: The rear section is the clean air supply area. No items shall be closely placed to block it.
✅ Do not turn on UV lamp with personnel present: People must leave during UV disinfection. Turn off UV lamp before operation.
✅ Avoid frequent fan on-off: Keep fan running stably after startup, prevent repeated short-cycle start and stop.
✅ Do not neglect pre-filter: Heavy dust accumulation on pre-filter leads to reduced wind speed and higher noise, clean or replace periodically.
✅ Clean bench protects samples only, NOT biosafety cabinet: Ordinary clean bench cannot protect operators and surrounding environment. Biosafety cabinet must be used for pathogenic microbes, toxic chemicals and high-risk aerosol operations.
The installation and commissioning of horizontal flow clean bench is not complicated. The core requirements are suitable environment, level installation, reliable sealing, qualified parameters and complete documentation. Strictly follow each step to maintain stable ISO Class 5 local clean environment for long term.
