Here is a set of general, standardized, and directly applicable installation steps for ultra-clean workbench high-efficiency filters, suitable for both horizontal flow and vertical duct systems, applicable to pharmaceutical factories and laboratories.
Installation Steps for Ultra-Clean Workbench High-Efficiency Filters
I. Preparation
Turn off the power of the ultra-clean workbench and unplug the plug.
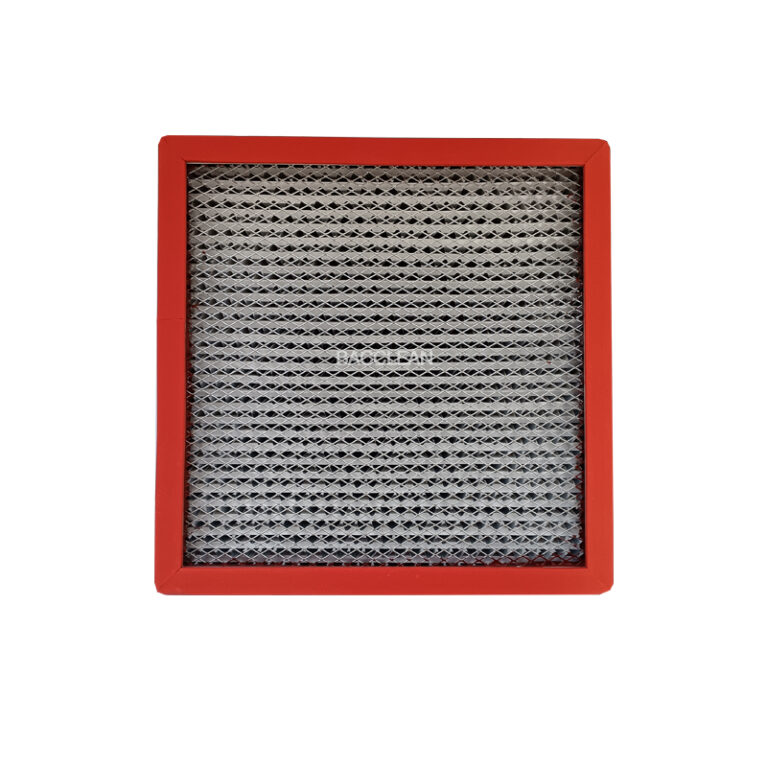
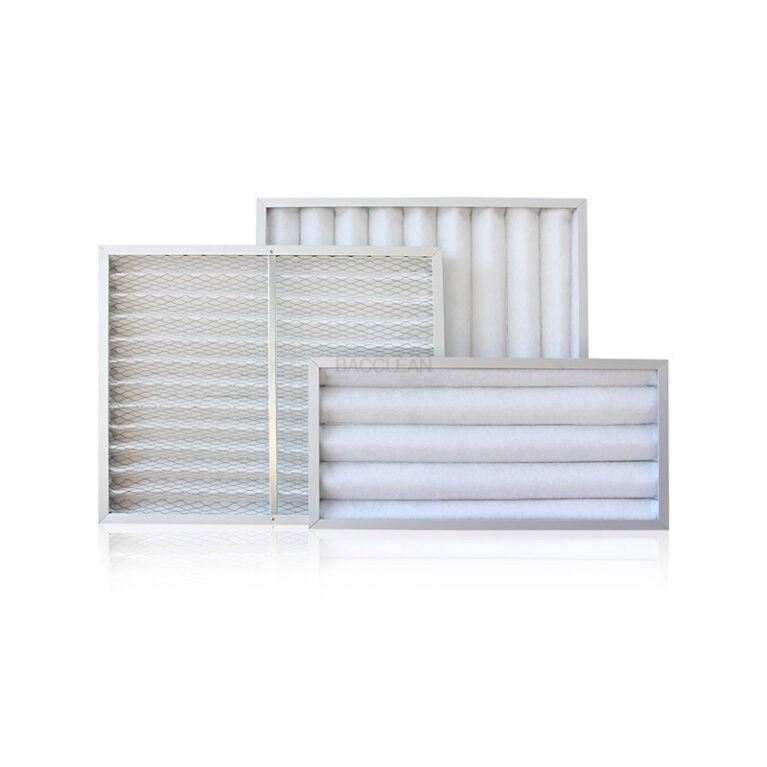
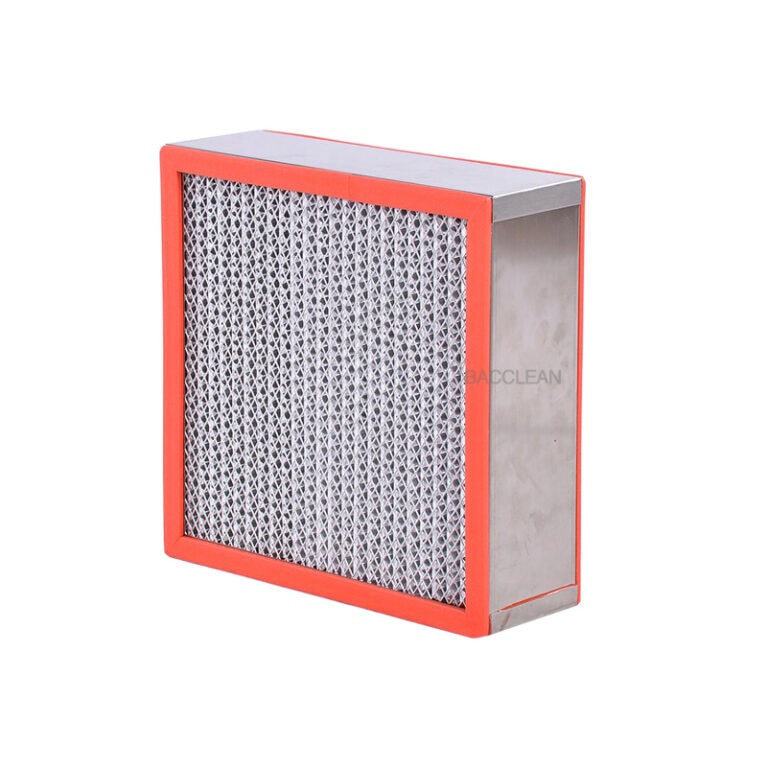
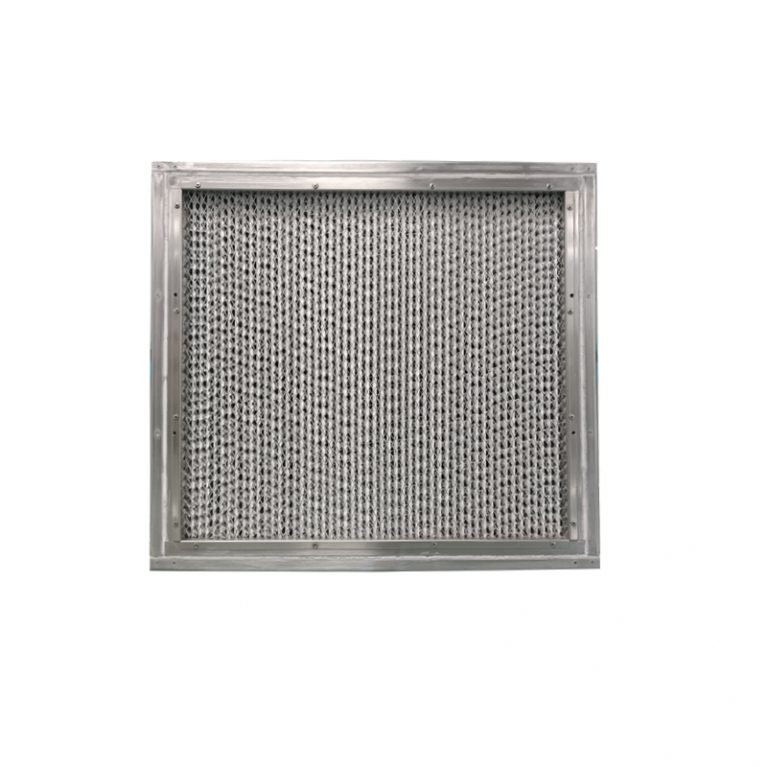
Prepare the new high-efficiency filter: Check the size, rated air volume, efficiency grade (H13/H14), and inspect for no damage or deformation.
Prepare tools: Phillips screwdriver, clean dust-free cloth, 75% ethanol, sealing rubber strips (if aging, consider replacing them together).
Clean the operation area to reduce dust.
II. Disassembly of the Old High-Efficiency Filter
Open the rear/top access cover or outlet decoration cover of the ultra-clean workbench.
Loosen the fixing strips/screws of the high-efficiency filter (it is recommended to loosen diagonally to avoid deformation).
Gently remove the old high-efficiency filter, do not hit it hard to prevent secondary dust contamination.
Wet the inside of the box, the air duct, the sealing groove, and the strips with 75% ethanol, and thoroughly clean.
III. Installation of the New High-Efficiency Filter
Confirm the air flow direction: The arrow on the outer frame of the filter must point to the outflow side (the operation area), installing it in the opposite direction will result in low air volume and high resistance.
Place the new high-efficiency filter smoothly into the sealing groove, ensure uniform contact on all four sides, without warping or edge curling.
Install the strips, gradually tighten the screws diagonally, apply uniform force to avoid local over-tightening and resulting in deformation and air leakage.
Check the sealing around the edges: Press the frame lightly with your hand, there should be no looseness or obvious gaps.
IV. Restoration and Trial Run
Replace the access cover and decoration cover.
Connect the power supply and turn on the fan. Run for 5-10 minutes.
Observe if the operation is normal: no abnormal noise, no obvious vibration, uniform air outflow.
V. Post-Installation Verification (Must be done)
Air velocity measurement
The average air velocity in the operation area should be 0.3-0.6 m/s, and it should be uniform at all points.
Leak detection
In GMP scenarios, PAO/DOP leak detection must be performed;
In general laboratories, at least smoke leak detection should be conducted to confirm there is no leakage.
Simple confirmation of cleanliness: no obvious dust flying or falling.
VI. Record and Archiving
Fill in the maintenance record, including:
Replacement date
Filter model and specification
Installer
Air velocity, leak detection results
Next replacement date
Key precautions
Do not install the arrow in the opposite direction, as it is equivalent to a waste replacement.
Sealing is the core, air leakage is more dangerous than dirty filter.
Do not squeeze the filter forcefully, as it will cause filter paper damage.
After replacement, leak detection must be conducted, and it cannot be just “installed and considered done”.
Note: The above translation is natural, fluent, and in line with English expression habits.