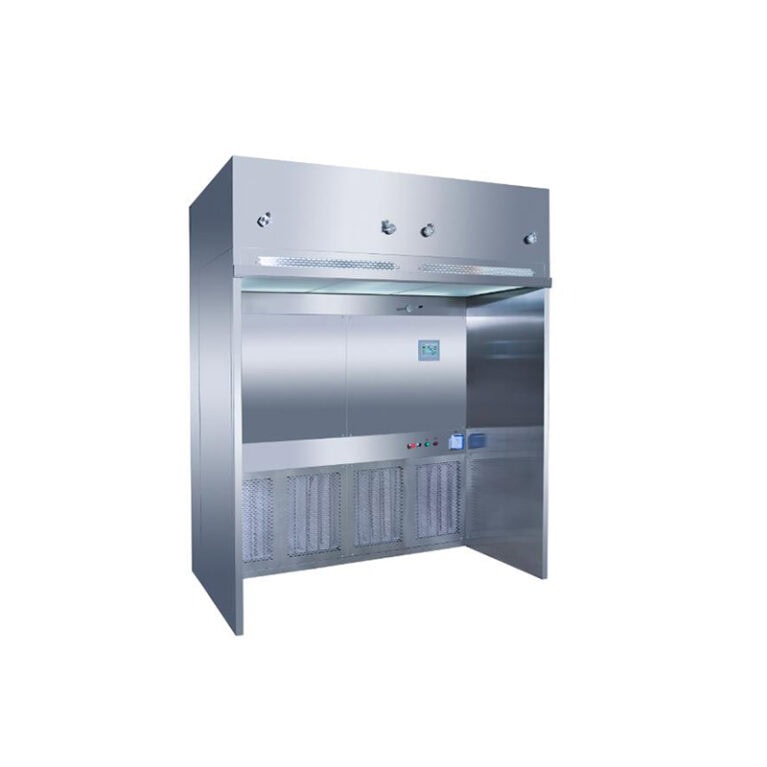
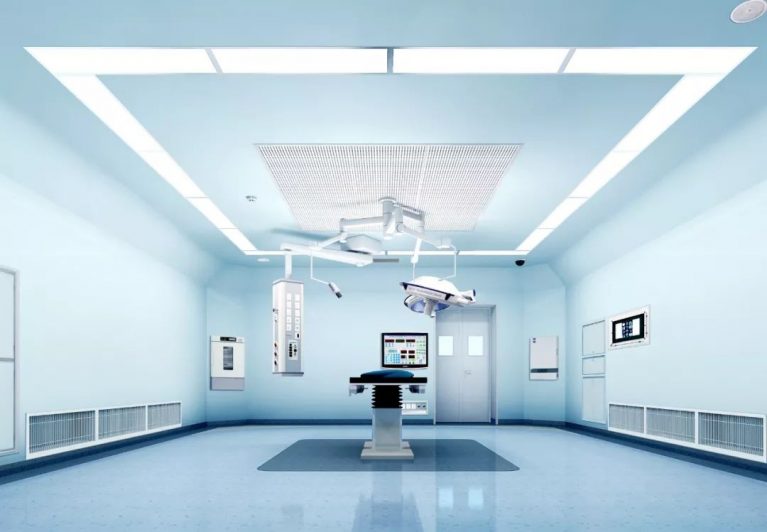
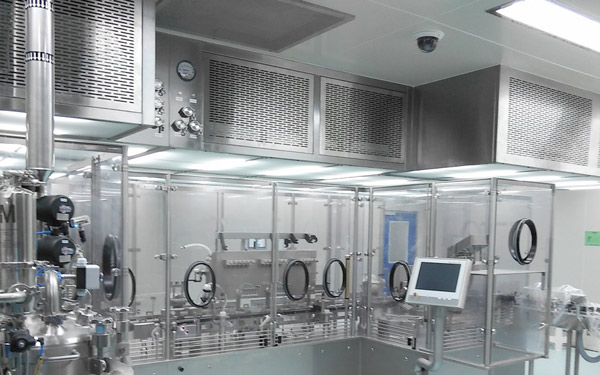
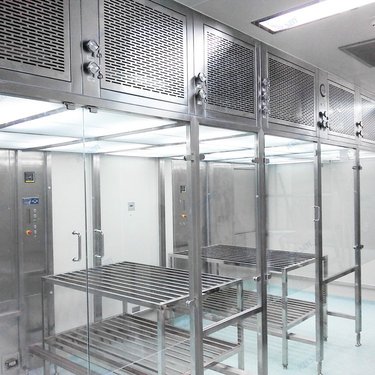
1. Air supply ceiling ( laminar flow air supply ceiling ) Advantages Air quality is excellent: vertical unidirectional laminar flow, without vortices or turbulence, capable of continuously suppressing floating dust and preventing cross-contamination, suitable for clean areas of Class 100/ISO 5 and above standards. Uniform air outflow: large static pressure box + uniform flow structure, consistent air speed across the entire surface, stable temperature, humidity and cleanliness in the area. Strong purification capacity: standard configuration of multiple-level filtration (primary / intermediate / high-efficiency / ULPA), capable of deeply trapping micro-particles, meeting strict requirements of GMP, medical, and semiconductor industries. Good local control and purification effect: can form a local clean core area, allowing for a more relaxed requirement for the overall workshop’s cleanliness, and reducing overall operation and maintenance costs. Disadvantages High cost: Complex structure, numerous components (static pressure box, multi-stage filters, equalizing components), procurement and installation costs are much higher than those of ordinary air vents. High wind resistance and high energy consumption: The multi-stage filters and long air flow path result in high wind resistance, requiring a high static pressure fan to be matched. Long-term operation consumes more electricity. Complex maintenance: Filters, seals, fans, and equalizing components need

I. Application Scenarios The air supply ceiling ( laminar flow air supply ceiling ) is the core end equipment of a cleanroom. Through efficient filtration and uniform air supply, it achieves a high level of cleanliness and is mainly used for: Medical field: Operating rooms of hospitals at hundreds or thousands of air cleanliness levels, ICUs, stem cell laboratories, and clean wards (in compliance with GB 50333). Pharmaceutical industry: GMP-certified A/B class clean areas, aseptic filling lines, biological laboratories. Electronic semiconductors: Chip manufacturing, and ultra-clean workshops for liquid crystal panels at the 100-level / 1,000-level (ISO 5-7 standards). Other: Places with high requirements for air cleanliness such as precision manufacturing, food processing, and sterile animal housing. II. Maintenance and Care 1. Daily Maintenance (Weekly / Monthly) Surface Cleaning: Use a dust-free cloth dipped in 75% ethanol or neutral cleaner to wipe the panels, use a soft brush to clean the accumulated dust on the orifice plates, and avoid corrosive solvents. Sealing Inspection: Check if there is air leakage between the static pressure box and the ceiling, and the filter frame. Use silicone sealant to repair the gaps. Operation Monitoring: Record the current of the fan motor, the reading of
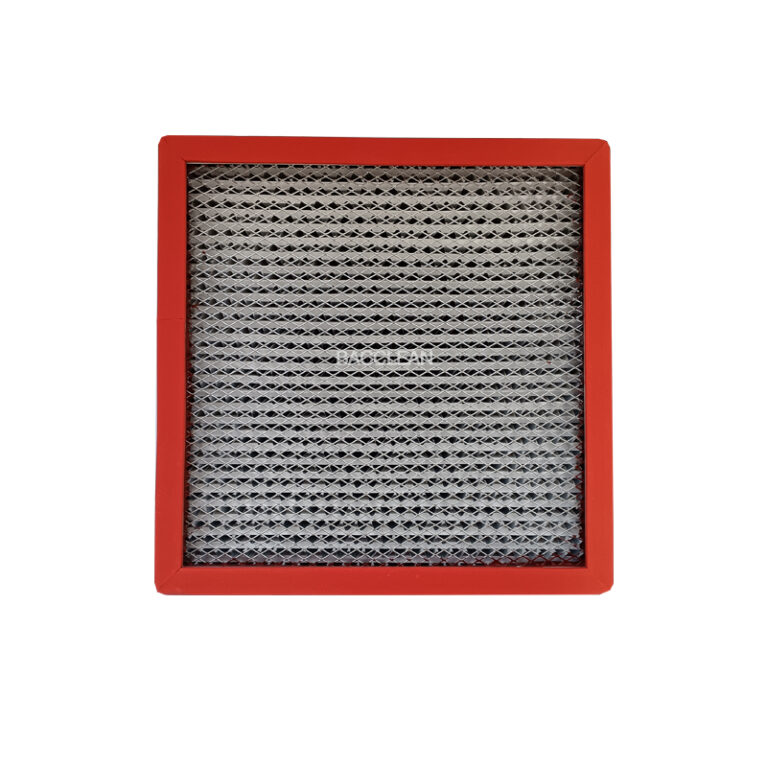
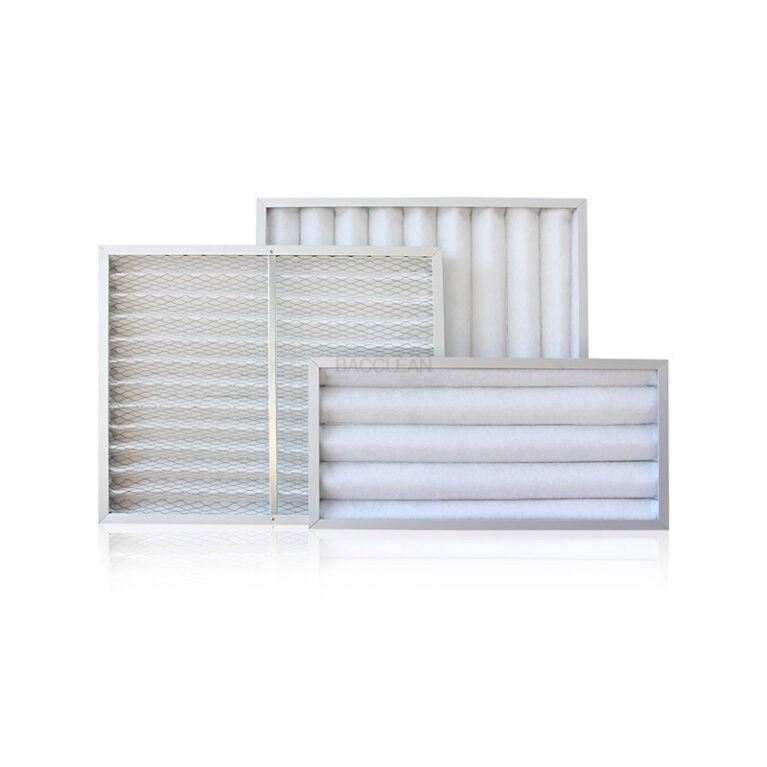
Core idea: Secure the front-end interception, standardize operation and maintenance, optimize the airflow, and maximize the reduction of dust and debris entering the system, thereby extending its lifespan. The following are the implementation methods, organized by dimensions, and can be directly written into the operation procedures. 1. Hierarchical control, with regular replacement/cleaning (the core) Strictly follow the replacement cycle Primary efficiency (G4): 3-6 months for the flow area / dust-producing area, 6-12 months for the regular area; Intermediate efficiency (F8): 8-12 months for high-load areas, 1-2 years for regular areas. Never replace until the dust becomes severely blackened or the pressure difference exceeds the limit. Preceding blocking will directly increase the load on the high-efficiency system. Regular dust cleaning for primary efficiency Use a low-pressure air gun (pressure ≤ 0.2 MPa) from the back to the windward side to blow off floating dust every week, which can extend the service life by 1-2 months; Intermediate and high-efficiency filters are prohibited from being blown. Batch standby and timely replacement Keep the same specification filter cores in stock, and replace immediately if the resistance increases, local damage, or mold is detected, to avoid running with faults. 2. Installation and structural optimization to
Based on industry standards and on-site practical operations, it is categorized into three types: priority determination criteria, auxiliary phenomena, and compliance testing, and ranked by priority. It can be directly used in the operation SOP. 1. Core determination (the most accurate, preferred) Excessive pressure difference (main basis) Record the initial pressure difference of the filter. When the operating pressure difference reaches twice the initial value, replace immediately. No pressure difference meter: Combine wind volume and wind speed for comprehensive judgment. Insufficient working face wind speed Standard wind speed: 0.36 – 0.54 m/s. If the measured wind speed is consistently low and the airflow is soft, and the problems of fan and return air blockage have been ruled out, it indicates that the filter material is severely dusty. 2. On-site intuitive phenomena (visual inspection with eyes or body sensation during daily inspection) Inconsistent air flow: Local lack of air, deviated airflow, local blockage of the filter material. Surface blackening / dust accumulation: The windward side of the filter material is obviously blackened and dusty, and cannot be wiped off. Abnormal noise: The fan noise increases and the vibration intensifies (excessive resistance, overload of the fan). Airflow carrying dust: When the lights

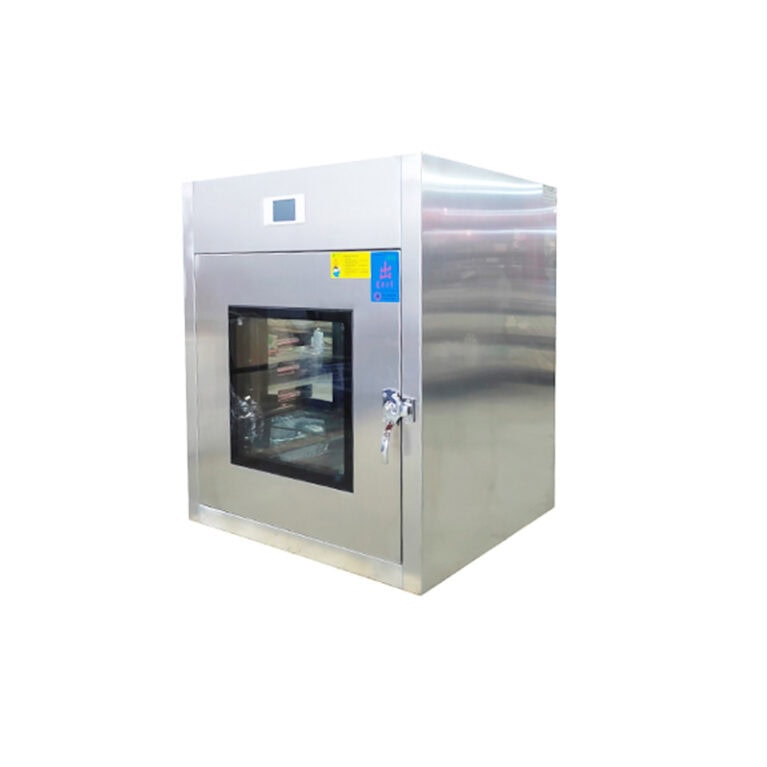
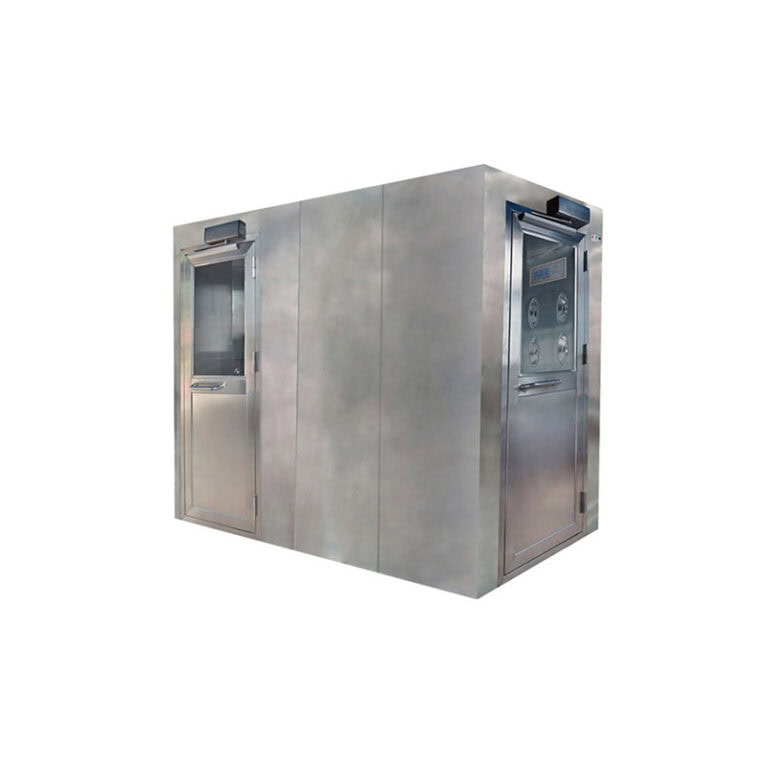
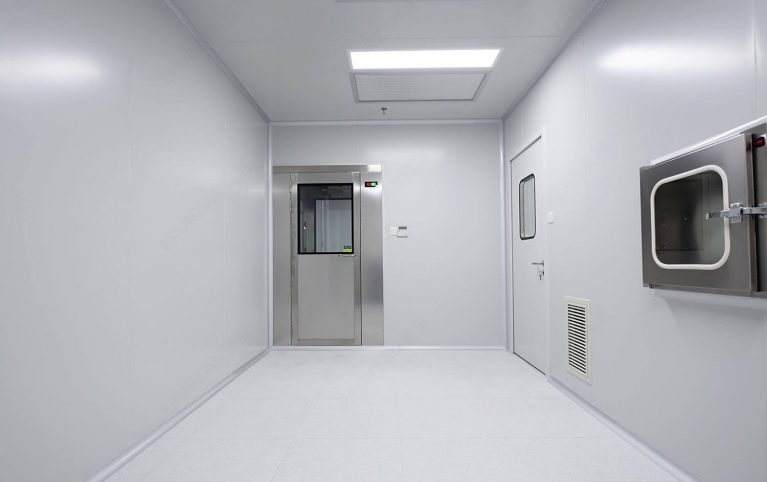
By considering dimensions such as usage scenarios, sterilization methods, parameters, and configurations, we will guide you step by step in selecting the appropriate equipment, taking into account compliance, cost, and usage requirements. 1. First, clearly define the core usage requirements (the first step in selection) 1. Differentiate between cleanliness levels and pressure differences between zones General clean area (D class / general clean room): Only prevent air convection and simple dust removal, prioritize ordinary air shower transfer windows / mechanical interlocked transfer windows. Sterile area, biological laboratory, B/A class high cleanliness area, GMP sterile workshop: There is a risk of microbial and spore contamination, therefore, VHP sterilization transfer windows must be selected. Biological safety laboratory: Additional requirement for negative pressure, to prevent harmful gases / aerosols from leaking out. 2. Clearly define the characteristics of the transferred materials Material size / weight: Reserve 100-150mm margin based on the maximum external size of the material to determine the net size of the chamber; heavy materials can choose models with wheels / load-bearing tabletops. Material material Plastic, electronic components, paper, rubber, etc. heat-sensitive materials: Prohibit high temperatures and ethylene oxide, prioritize VHP type. Metal, glass, etc. radiation-resistant materials: Consider ultraviolet type. Copper,

Applications of Explosion-proof FFU Frequency Conversion Speed Regulation 1. Shift Work Peak-Battling Production Workshop Lithium battery, pharmaceutical, and fine chemical plants, ensuring cleanliness during the day shift with high wind speed; reducing production during night shift and stopping to maintain low speed and stable pressure, adjusting consumption as needed. 2. Multi-Level Zone Cleanrooms Dividing the same factory into ISO5/7/8 different clean areas, independently adjusting speed for each zone, matching the ventilation standards of each area. 3. Hazardous Gas Control Zones Electrolyte, ethanol, hydrogen and other places, automatically increasing speed and strong ventilation when gas concentration exceeds the limit; reducing speed and operating normally when concentration drops. 4. Combustible Dust Production Workshop Aluminum powder, drug powder, powder processing areas, increasing air volume during dust generation periods to suppress dust, and operating at low speed during shutdown periods to maintain the environment. 5. Temperature and Humidity Pressure Differential Control Area When the temperature and humidity in the workshop fluctuate, automatically adjust the wind speed, stabilize the airflow gradient, and avoid imbalance in cleanliness. 6. Night Shift and Holiday Maintenance During production suspension and holiday periods, maintaining the basic positive pressure at a low speed to prevent the invasion of external pollutants, without
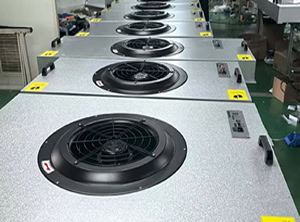
Principle of Frequency Conversion Speed Control for Explosion-proof FFU (Simple Engineering Version) I. Core Components Explosion-proof EC brushless motor: Power end for speed control Explosion-proof frequency conversion drive module: Core speed control motherboard Intelligent control board + communication module: Issue speed control instructions Speed / Current / Temperature sensing sensors: Real-time feedback Central control panel / Group control system: Human-machine operation end II. Working Implementation Process The 380V/220V AC power from the mains is first converted into stable DC power to eliminate voltage fluctuation effects. The frequency conversion inverter voltage regulation and frequency modulation drive module changes the output voltage and frequency. The higher the frequency, the faster the motor speed; the lower the frequency, the slower the speed. Signal instructions are issued Local panel manual speed adjustment Timed program automatic speed adjustment Gas, pressure difference, fire linkage signals trigger speed control Central control group control remotely issues speed control commands The motor operates precisely with variable frequency based on the frequency signal. The explosion-proof motor smoothly changes the speed, and the fan air volume increases or decreases synchronously. Closed-loop feedback corrects the sensors to transmit real-time speed and load data. The system automatically fine-tunes the frequency to stabilize the
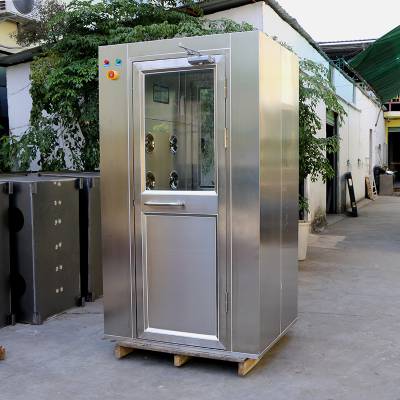
Core Principles: Electrical explosion-proof priority, static electricity not lost effectiveness, filters replaced on time, eliminate spark/static electricity hazards, balance clean function and explosion-proof safety. I. Daily Maintenance (Daily/Shift) Appearance and cleaning Use dust-free cloths to wipe the inner walls, nozzles, door bodies, and glass. Do not use steel wool or sharp tools to avoid scratching and generating metal debris and friction sparks. Clean the dust on the bottom return grille to keep the return air unobstructed and avoid dust accumulation. Electrical safety inspection (explosion-proof focus) Check the explosion-proof indicator light, emergency stop button, and infrared sensor for normal operation. Check if the explosion-proof junction box is sealed properly, without looseness, damage, or oil stains. Check the grounding line: the grounding wire of the box is not loose or rusted, and the grounding resistance meets the explosion-proof requirements. Operation status inspection Start the test for the fan, spray shower, and double-door interlock function. The two doors cannot be opened simultaneously. Listen for any abnormal sounds from the fan, and stop immediately if there are abnormal sounds to prevent the fan blade from rubbing the shell and generating sparks. Static electricity inspection No loosening of nozzles and stainless steel panels to avoid
Explosion-proof air shower filter replacement procedure (primary efficiency + secondary efficiency, including explosion-proof safety regulations) Key points: Full power-off explosion-proof operation, anti-static, explosion-proof dust environment must be free of dust flying, conduct leak detection and wind speed measurement after replacement. Proceed step by step according to the standard procedure and follow it directly. 1. Preparations before replacement (explosion-proof safety first, must be done) Stop the machine and cut off the power supply Turn off the main power supply, hang a sign and lock (LOTO), do not touch and disassemble with power on; Do not open the cover in dust / flammable and explosive areas with power on. Personal protection Wear anti-static clothing, gloves, mask, use dust-free tools, do not use iron tools to strike or rub to generate sparks. Clear the site Empty the internal debris of the air shower room, clean the return air duct and the surrounding dust of the nozzle, reduce dust flying. Component verification Primary efficiency: G4 plate-type filter Secondary efficiency: H13/H14 with or without partitioned / without partitioned high-efficiency filter (size consistent with the original factory) Do not use ordinary high-efficiency filters from non-explosion-proof areas as substitutes, the sealing rubber strip must be intact. 2.

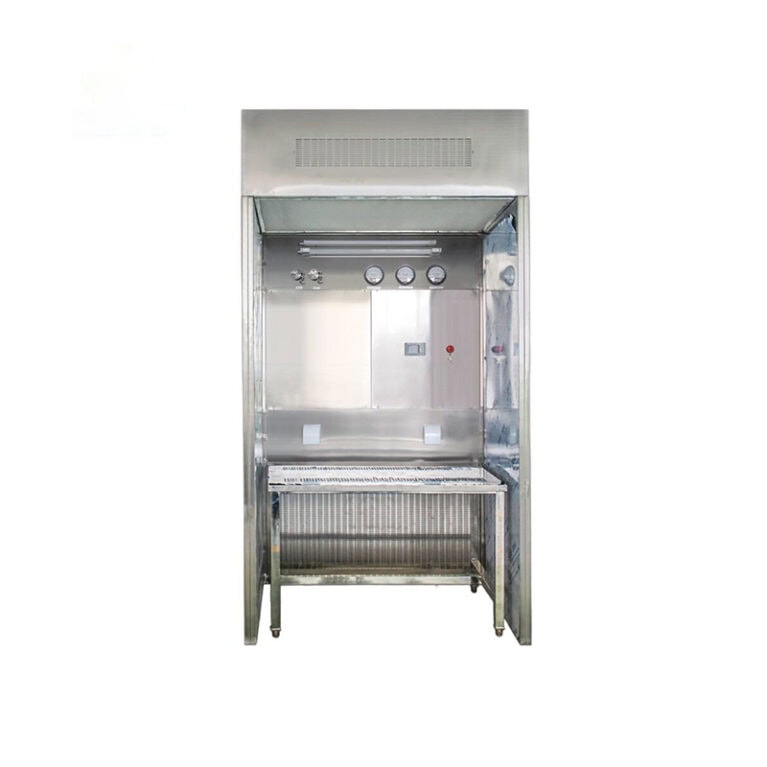
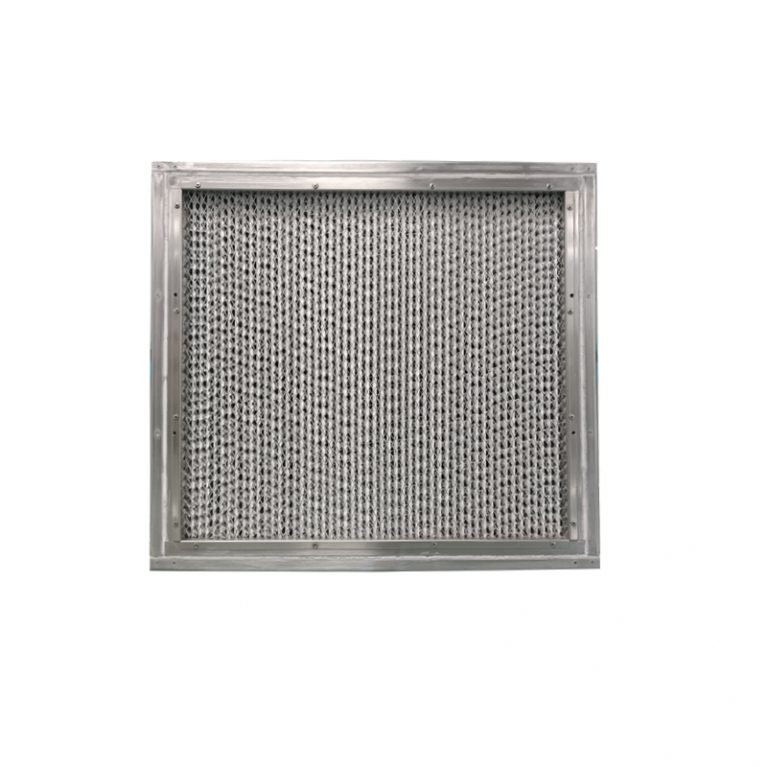
Based on the normal operating conditions of the pharmaceutical / cleanroom, the amount of dust, and the duration of operation, we provide you with the most standard replacement cycle that can be directly written into the SOP. At the same time, by comparing with the negative pressure weighing room, it is convenient for you to select and make maintenance plans. Ultrasonic hood, initial and intermediate efficiency filters service life 1. Initial efficiency filter (G4) Ordinary cleanroom, low dust: 6-12 months High traffic, more dust: 3-6 months Judgment criteria: Increase in pressure difference, obvious accumulation of dust on the surface, decrease in air volume Daily use: Use air gun to blow off dust once a week, which can extend by 1-2 months 2. Intermediate efficiency filter (F8) Normal conditions: 12-24 months (1-2 years) High dust, 24-hour continuous operation: 8-12 months Compared with the negative pressure weighing room (for your reference) Negative pressure weighing room initial efficiency: 2-4 months (high dust, drug powder, clogging occurs quickly) Negative pressure weighing room intermediate efficiency: 6-10 months Brief summary: Ultrasonic hood: Initial efficiency 6 months – 1 year, intermediate efficiency 1-2 years Negative pressure weighing room: Initial efficiency 2-4 months, intermediate efficiency 6 months –
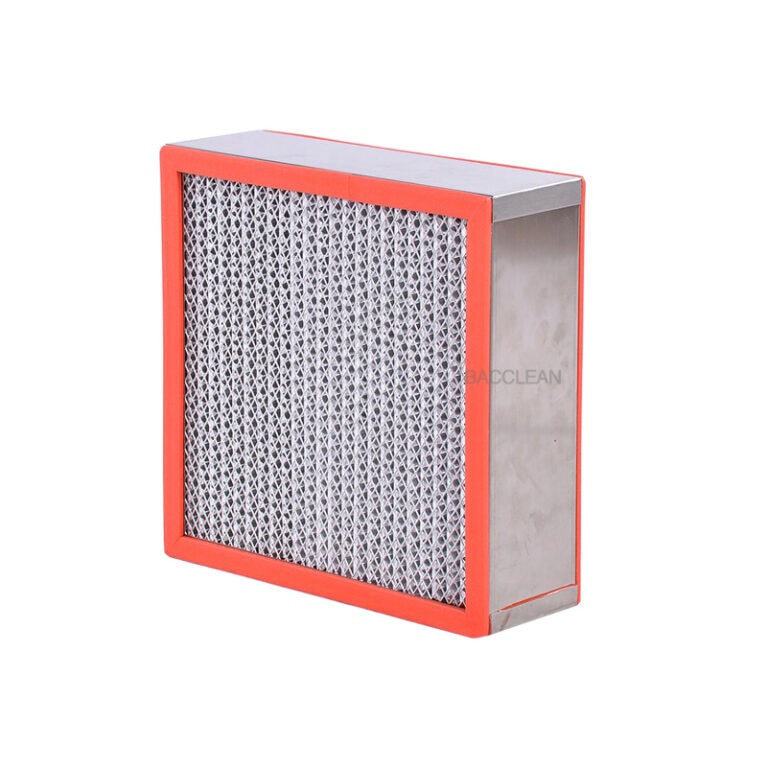
Based on the actual on-site usage experience, how long a laminar flow hood HEPA filter can last – 1.5 years or 3 years – hinges on these 6 key factors, all of which are the most critical points in operation. I will explain them clearly to you in a straightforward and understandable way:1. Pre-filtering (most crucial, has the greatest impact) Whether the primary and secondary filters are replaced on time directly determines the lifespan of the high-efficiency filter. If the primary filter gets clogged and is not replaced → A large amount of dust rushes into the high-efficiency filter → The high-efficiency filter is scrapped in less than 1 year. Replacing the primary and secondary filters on time → The lifespan of the high-efficiency filter is directly extended by 50% to 100% 2. Operating duration and startup mode Continuous operation for 24 hours: The lifespan of the high-efficiency filter is 1.5 to 2 years 8 to 12 hours of intermittent operation per day: 2 to 3 years Frequent startups and changes in wind speed: The filter material is prone to damage, reducing the lifespan 3. Dust content in the cleanroom environment Aseptic workshop, with very little dust: The high-efficiency filter
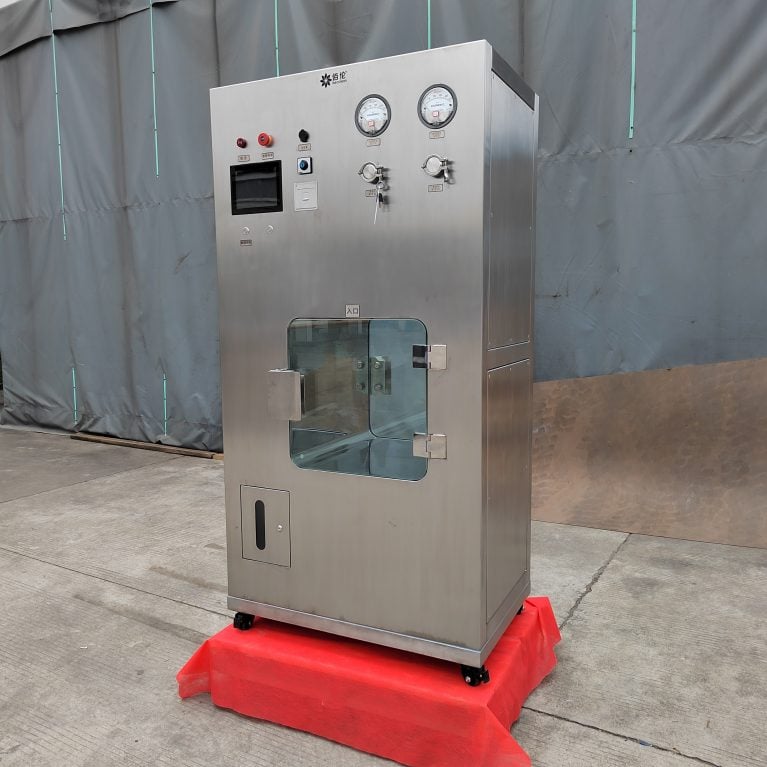
The process is divided into four stages: pre-humidification → drug addition and sterilization → maintaining exposure → residue removal. The industry standard duration is provided directly, and it is differentiated between small and large transfer windows. 1. General standard time (Pharmaceutical GMP standard) a) Small VHP transfer window (cavity size around 600×600×600) Pre-humidification: 5–10 minutes Drug addition + maintaining sterilization exposure: 20–30 minutes (core sterilization time) Residue removal (ventilation and decomposition): 20–40 minutes Total cycle: 45–80 minutes b) Large VHP transfer window (cavity > 800mm, or double-door interlocked large volume) Sterilization exposure time: 30–45 minutes Residue removal longer: 30–60 minutes Total cycle: 70–115 minutes Key point: The exposure maintenance time is the actual sterilization time. Generally, maintaining for ≥ 30 minutes can stably achieve 6log spore kill and meet the aseptic level. 2. What determines the sterilization time? Cavity volume: The larger the volume, the longer the time VHP generator power: Higher power, faster drug addition, can shorten the time Humidity: 50%–65% humidity has the best effect, and meeting the standard can shorten the sterilization time Verification requirements: GMP projects must verify the final time using biological indicators (BI), not a fixed value All negative results of Bacillus subtilis var.