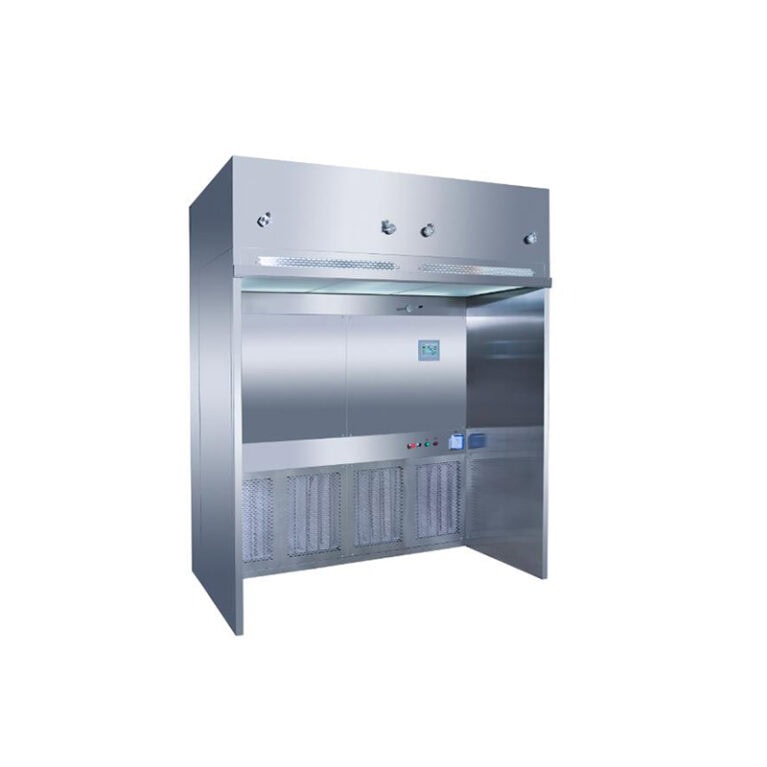
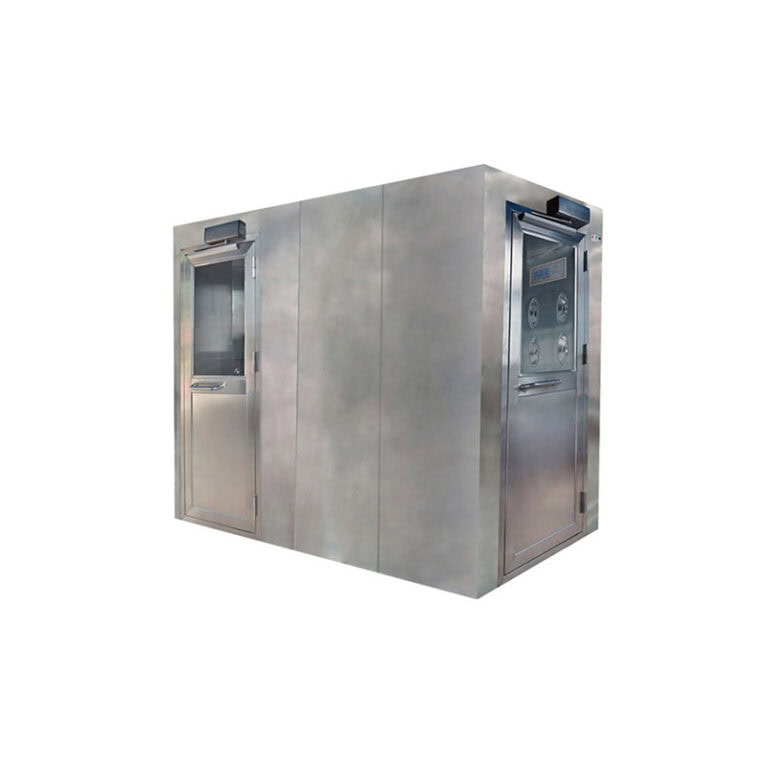
The daily cleaning of the DOP laminar flow transfer window should be carried out in separate areas and for individual components. It is necessary to ensure that the cleanliness meets the usage requirements while avoiding damage to the equipment components during the cleaning process. The following are the detailed cleaning standards and procedures:
| Clean area / component | Frequency of cleaning | Applicable Scenario Explanation |
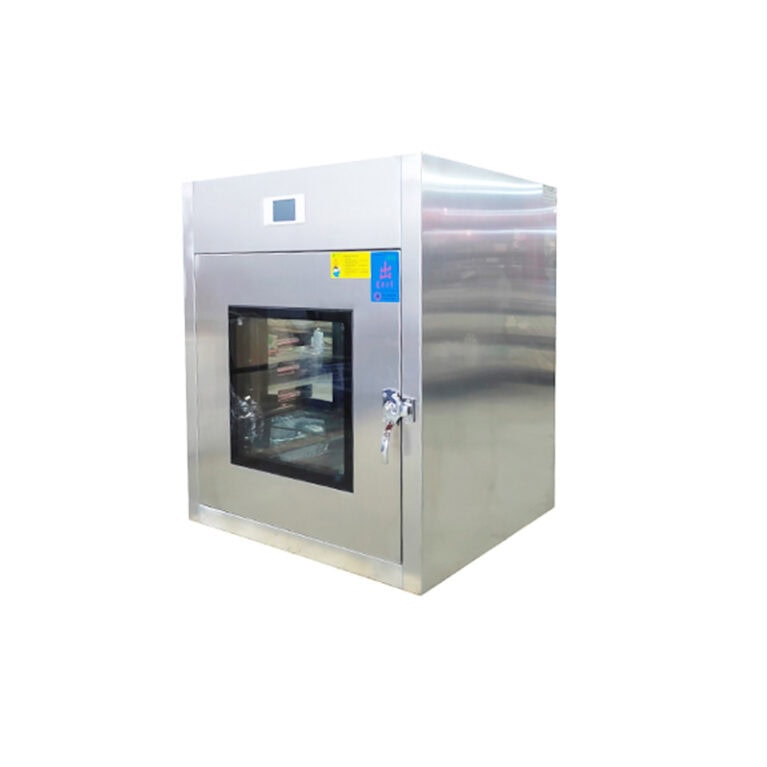
| Inner wall, transmission platform, observation window | After each use | After completing the item transfer and closing the double doors, immediately clean the area to prevent the growth of residual contaminants. |
| Sealing strip | Once a day | The sealing strip is prone to accumulate dust and oil stains, which directly affects the sealing performance. Frequent cleaning is required. |
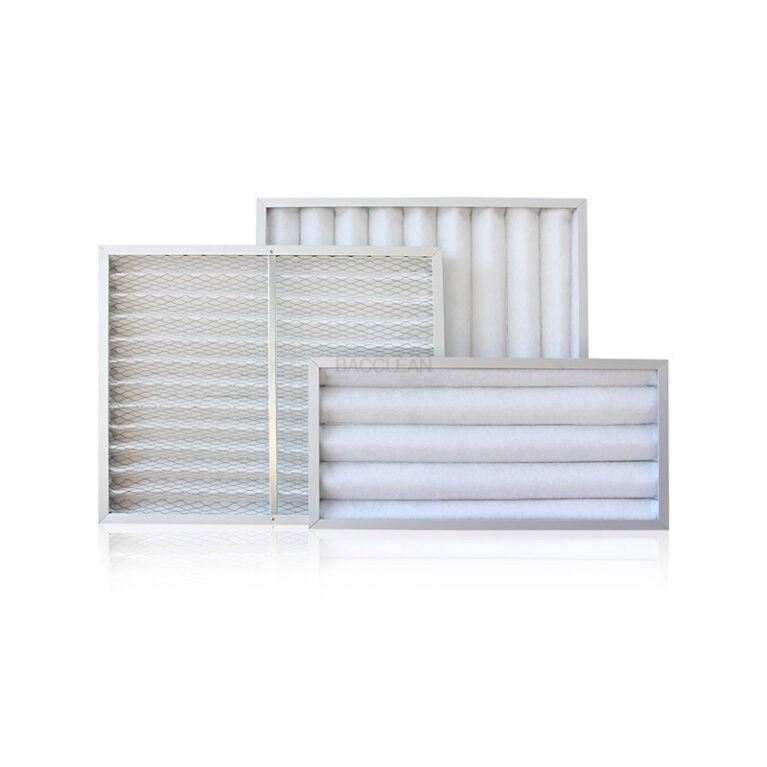
| Filtre primaire | Once or twice a week | Regular cleanroom environment; for high dust environments, it should be increased to once every 2-3 days |
| Filtre primaire | Once or twice a week | Regular cleanroom environment; for high dust environments, it should be increased to once every 2-3 days |
| Pressure differential gauge, control panel, door handle | Once a day | Prevent dust accumulation from affecting the accuracy of the instruments and the operation feel.Fan inlet grille |
| Fan inlet grille | Once a week | Prevent dust accumulation from blocking the air intake channel and reducing the efficiency of the fan. |
II. Cleaning Methods for Components
1. Inner walls, transfer platform, observation window
Cleaning tools: Dust-free cloth, clean cotton swabs (for corners and crevices)
Cleaning agents: Neutral cleaner (pH 6-8), pure water (resistivity ≥ 18 MΩ·cm) Operation steps
Dip a lint-free cloth in the diluted neutral cleaner (cleaner: pure water = 1:10), and wipe the inner walls and the transfer table in the same direction to avoid secondary contamination from repeated wiping.
Use clean cotton swabs to clean the corners, edges, and blind spots such as the frame and guide rails, and remove any remaining stains.
Dip another lint-free cloth in pure water, wipe off the remaining cleaner.
Use a dry lint-free cloth to dry the water stains on the surface, or turn on the transfer window fan and run it for 5-10 minutes to dry. Notes for Attention
Do not use chlorine-based, acidic or alkaline cleaners as they may corrode the stainless steel surface.
When cleaning the observation window, avoid using hard tools to prevent scratching the glass.
2. Sealing Strip
Cleaning Tools: Soft dust-free cloth, silicone-specific cleaner Operation steps
Gently wipe the surface of the sealing strip with a lint-free cloth to remove dust and debris.
If there is stubborn oil residue, apply a small amount of the special cleaning agent for silicone to wipe it off, and then clean it with pure water.
After cleaning, check if the sealing strip has any deformation or cracks. If necessary, apply a small amount of silicone grease for maintenance (once a quarter). Notes for Attention
Do not use organic solvents such as alcohol and acetone to prevent the sealing strips from aging and hardening.
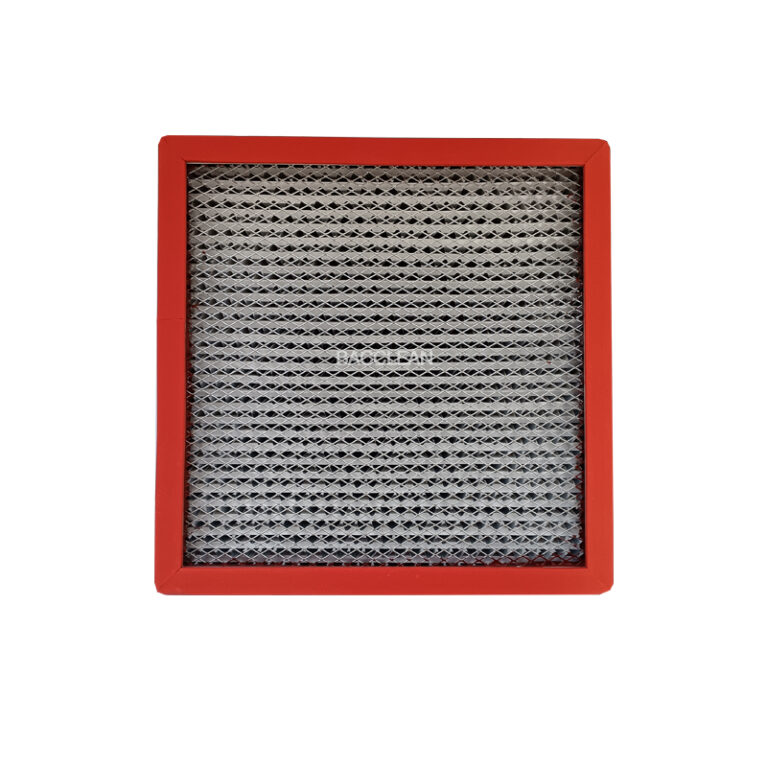
3. Primary Filter
Cleaning Tools: Soft-bristled brush, vacuum cleaner (with HEPA filter), cleaning sink
Cleaning Method
Removable Metal Mesh Filter
Turn off the power of the transfer window, then remove the filter.
Gently brush off the surface dust with a soft-bristled brush, or use the vacuum cleaner with low power to suck up the dust.
If there is a lot of oil stains, soak it in a neutral cleaner for 10-15 minutes, rinse with clean water, and dry it in a cool place (strictly prohibit direct exposure to sunlight or high-temperature drying).
Non-woven Fabric Filter
The non-woven fabric material cannot be washed, directly use the vacuum cleaner to remove the floating dust on the surface.
After cleaning 3-5 times or after using for 3 months, replace the new filter directly. Notes for Attention
After cleaning, the filter needs to be confirmed to be completely dry before installation to prevent the growth of microorganisms due to moisture.
When installing, ensure that the filter fits tightly with the frame and there are no air leakage gaps.
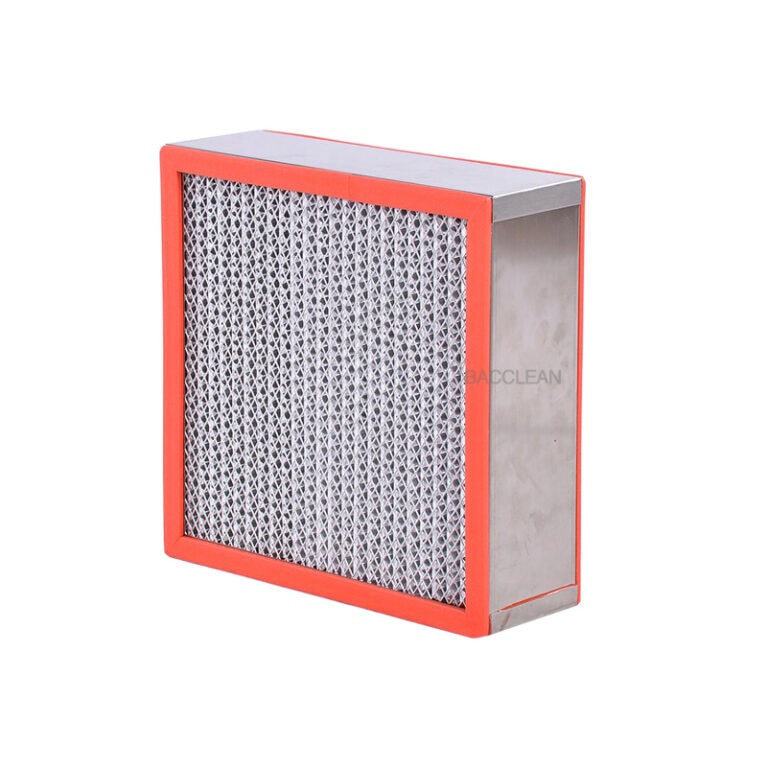
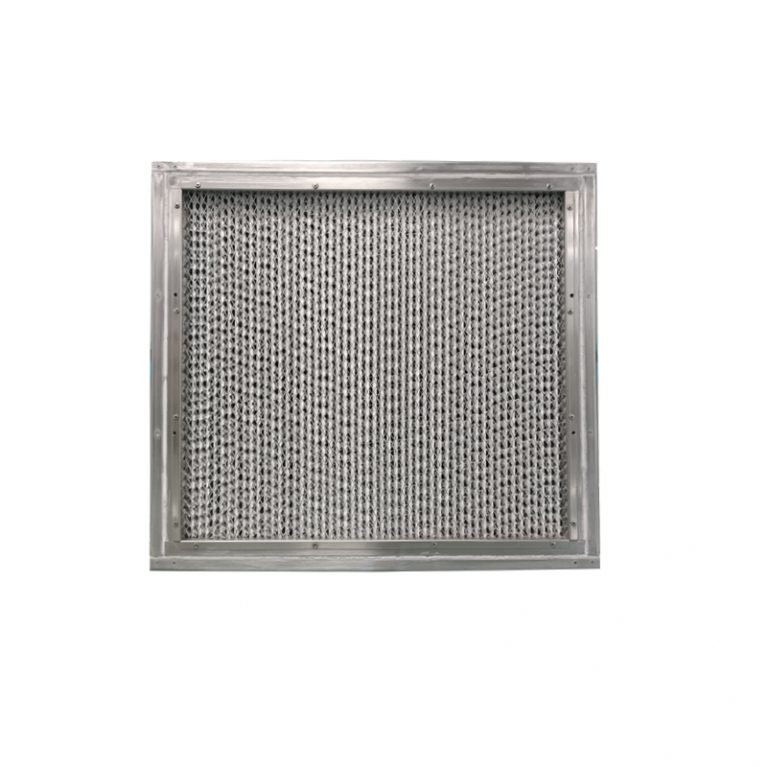
4. The outer surface of the high-efficiency filter
Cleaning tool: Anti-static dust-free cloth Operation steps
Turn off the power supply, gently wipe the dust on the filter surface with an anti-static dust-free cloth. Be gentle to avoid damaging the filter material.
Do not wash, blow with air, or disassemble the high-efficiency filter with water. If there are obvious stains on the surface or the pressure difference exceeds the standard, replace it directly.
5. Pressure gauge, control panel, door handle
Cleaning tools: slightly damp dust-free cloth (tightly wrung out so that it does not drip water) Operation steps
Use a slightly damp and dust-free cloth to gently wipe the dial of the differential pressure gauge, the control panel buttons, and the door handle, removing fingerprints and dust.
Avoid allowing water to seep into the gaps of the control panel to prevent short-circuit faults.
After cleaning the differential pressure gauge, check if the readings are normal to ensure the accuracy of the instrument.
III. Cleaning Prohibitions and Precautions
Before cleaning, the power supply of the transfer window must be turned off. The ultraviolet lamp should be turned off and cooled for 10 minutes in advance to avoid ultraviolet radiation and burns from high temperatures.
All cleaning tools must be dedicated and cannot be mixed with ordinary cleaning tools to prevent cross-contamination.
After cleaning, turn on the fan to run for 10-15 minutes to remove the residual cleaning agent odor, and then proceed with the transfer of items.
Establish a cleaning record ledger to document the cleaning time, personnel, area and cleaning effect, facilitating traceability.