Air supply ceiling high-efficiency filter (on-site standard installation steps)
(Adapted for operating rooms / GMP cleanroom laminar air supply ceilings, can be directly handed over for construction)
I. Pre-installation preparation (critical, prevent later dust leakage, leak detection failure)
On-site: Thoroughly vacuum the ceiling / ceiling static pressure box interior + wipe with dust-free cloth, no welding slag, floating dust, or debris; cover the air outlets with film protection throughout.
Personnel: Wear clean clothes, gloves, and masks. Do not touch the filter material or sealing surface with bare hands.
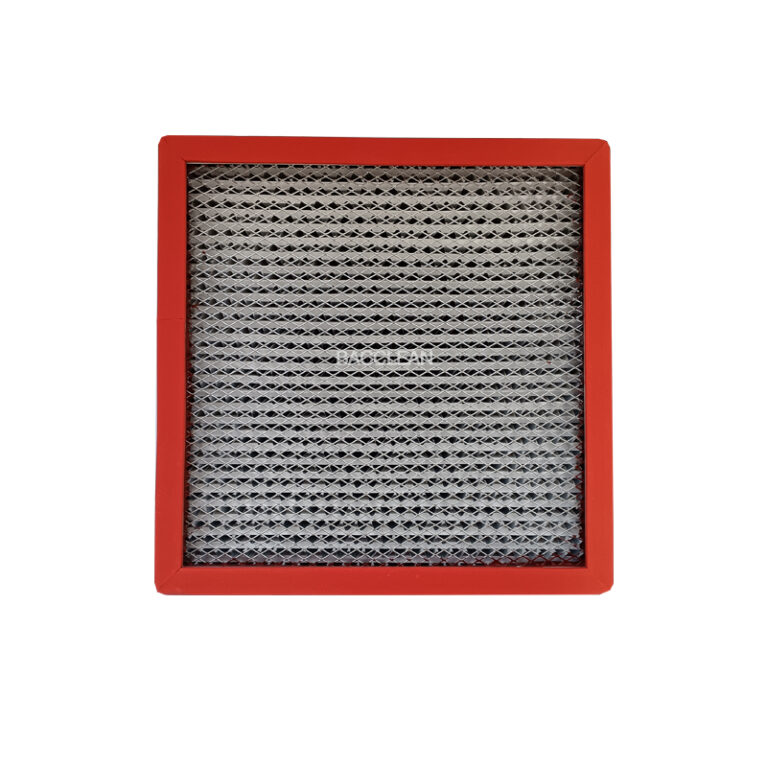
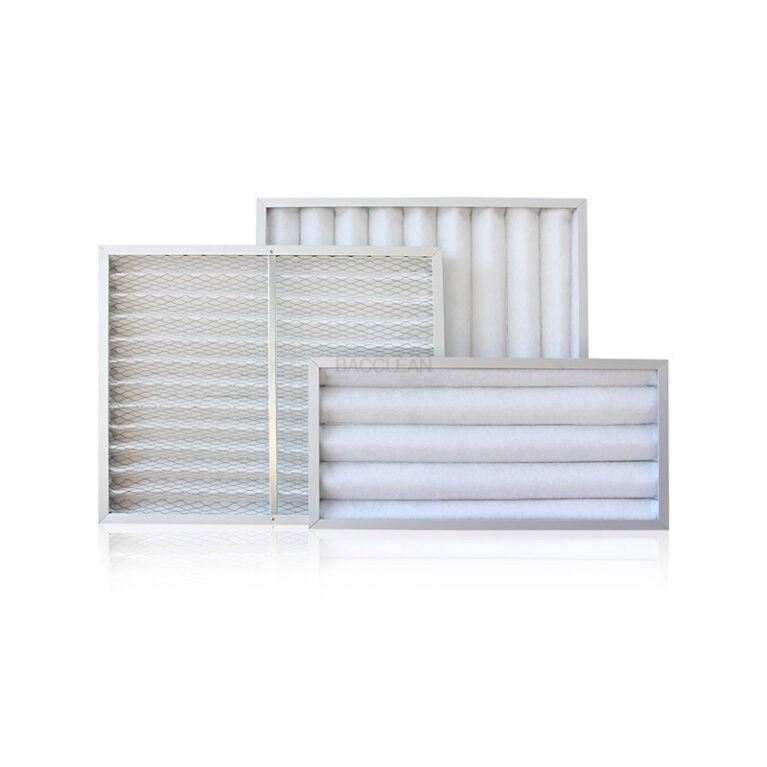
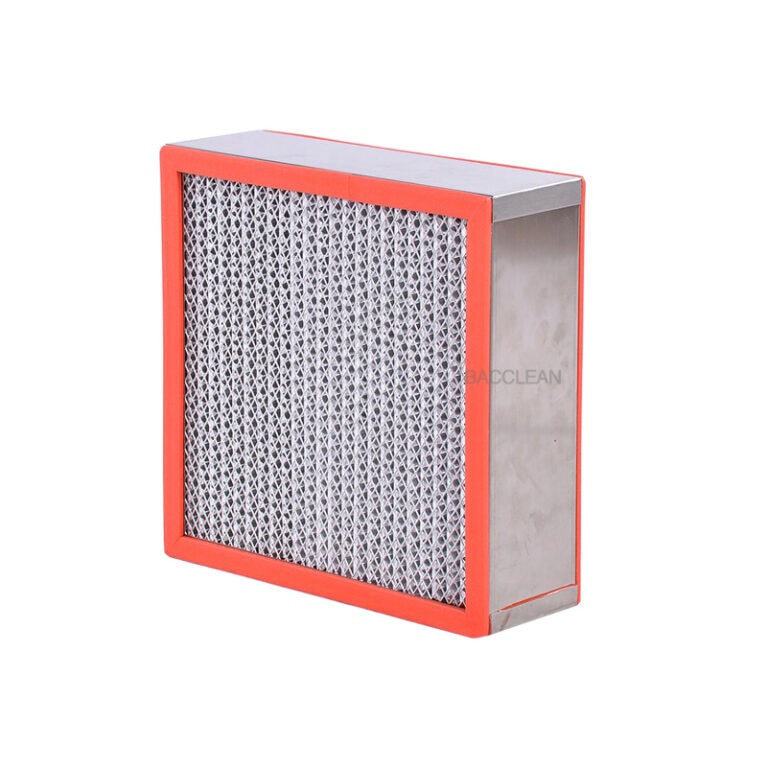
Inspection: Check the model H13/H14, size, appearance; filter surface without damage, no cracking of the adhesive; record the initial resistance of the filter at the factory and file it.
Supplies: Sealing strips are intact and without deformation; frames and screws are complete.
II. Pre-installation sealing and cleaning
Smoothly attach the sealing strips to the pressure-bearing surface of the filter frame, without stretching, without wrinkles, without breaks.
Again wipe the contact surface of the installation flange of the static pressure box to ensure it is clean and dry, without dust, oil stains.
III. Positioning installation (core anti-leak section)
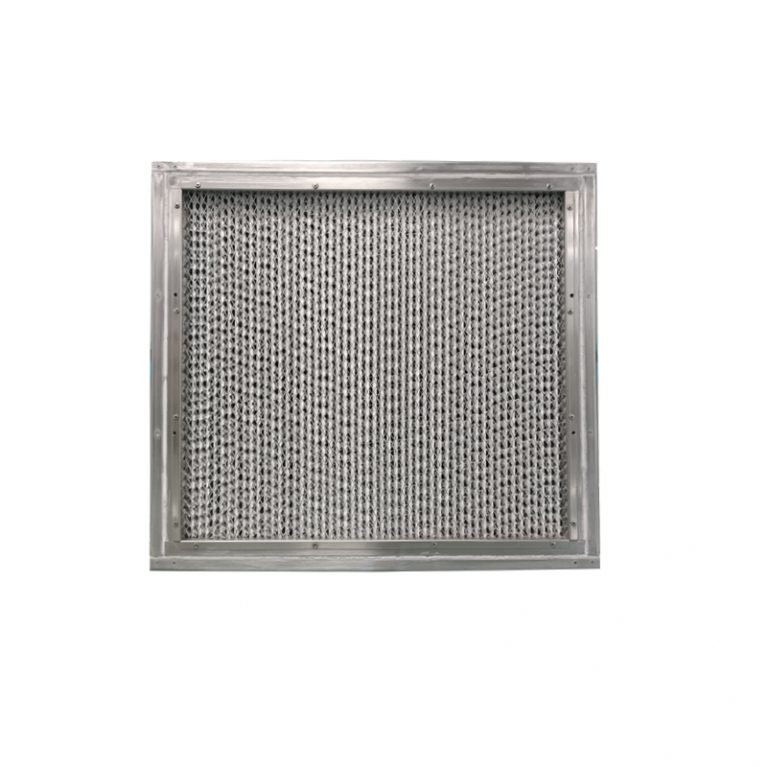
Smoothly insert the high-efficiency filter into the installation position, center alignment, and attach the sealing strips around the flange in a complete circle.
Install the frame / tighten the screws, evenly tighten in a diagonal manner in several stages:
First, lightly tighten for fixation → then add force in stages → finally uniformly tighten;
Do not allow single-sided force application, violent pressing (will crack the filter material, cause local leakage).
Check the entire circle of the sealing strips: no deviation, no skewing, no gaps, and the entire perimeter is tightly adhered.
IV. Sealing and external sealing
For the gaps between the filter and the box body, as well as around the inspection ports, apply neutral sealant according to specifications, continuously and fully.
Install the uniform flow plate / diffuser net, PTFE uniform flow membrane, lay them flat without wrinkles, and fix them firmly with snap fasteners.
V. Post-installation mandatory verification (not doing it is like building in vain)
Systemally supply air step by step, start with low-speed operation for sweeping.
PAO aerosol leak detection: detect the entire perimeter of the frame, adhesive, and filter material for leakage; only qualified if there is no leakage.
Test the uniformity of the air velocity at the outlet ports at multiple points, with deviation meeting the standards.
Read and record: record the initial pressure difference at installation, attach a label for archiving, and use it as the basis for future replacement.
VI. Prohibitions (the most common pitfall in the field)
Do not touch the filter paper with bare hands, poke the filter surface, or press the filter;
Do not use missing segments or elongated pieces to patch together the sealing strips;
Do not start production without leak detection;
Do not not record the initial resistance, and there will be no way to determine the replacement node later.