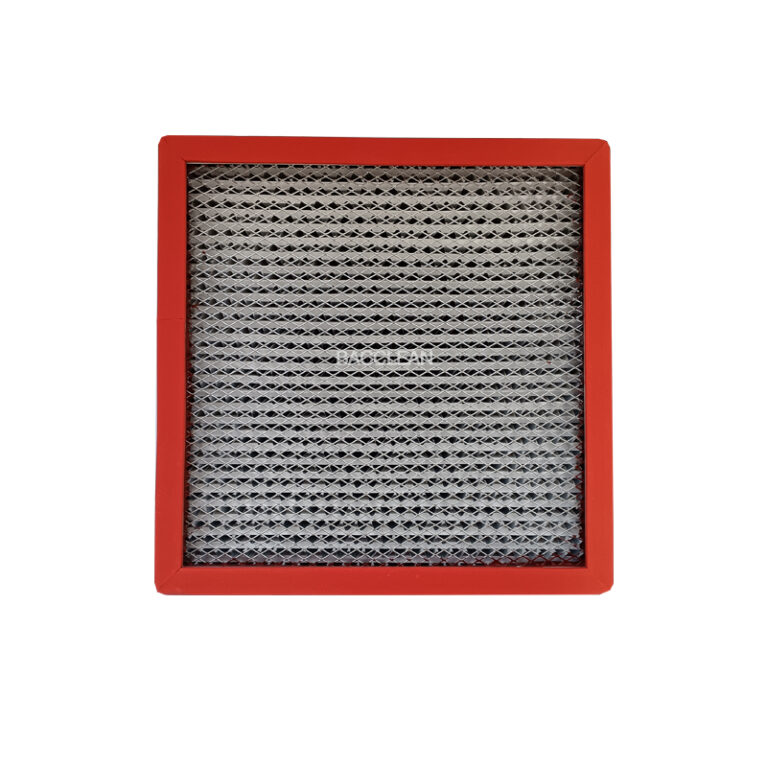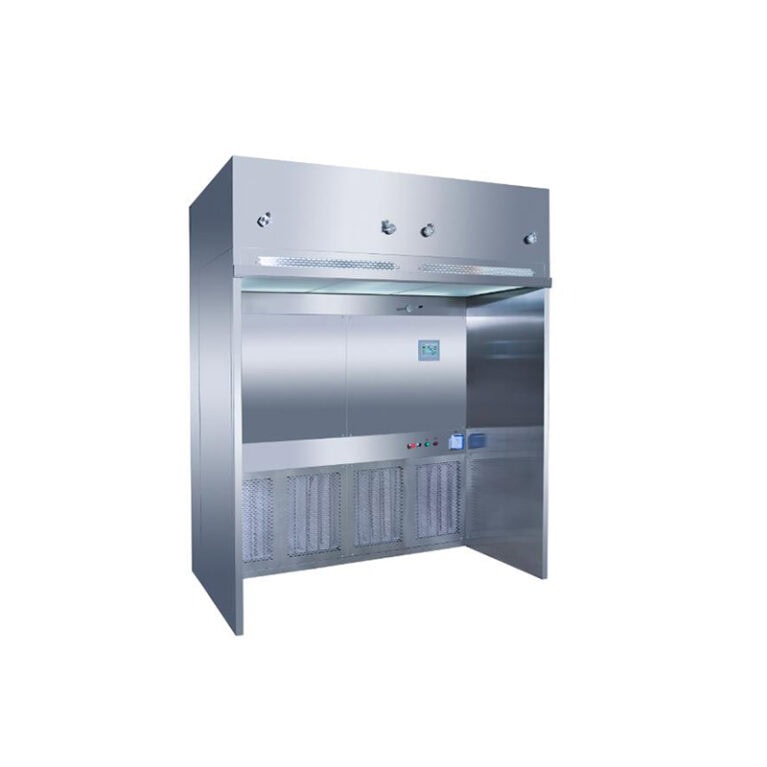
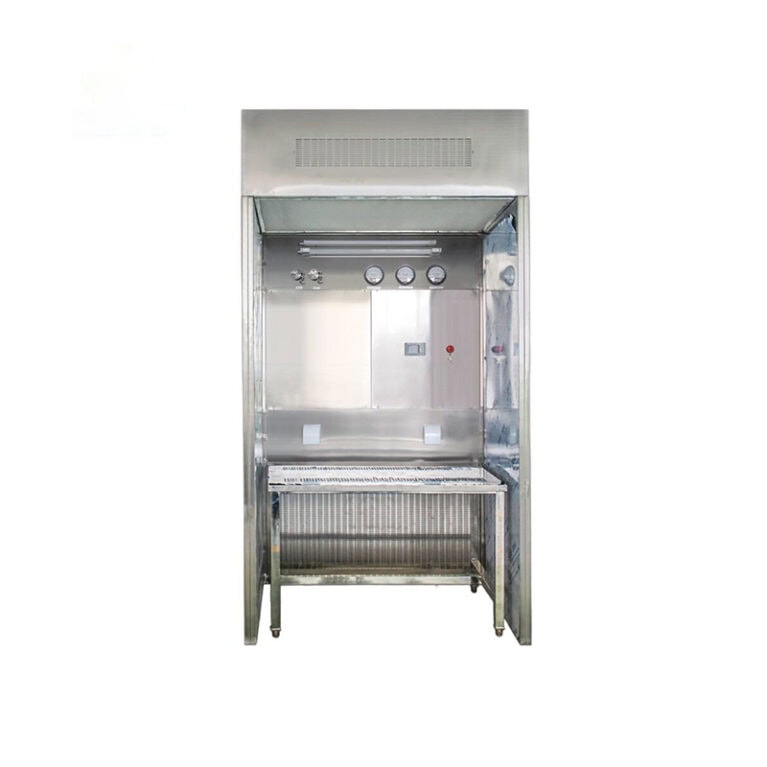
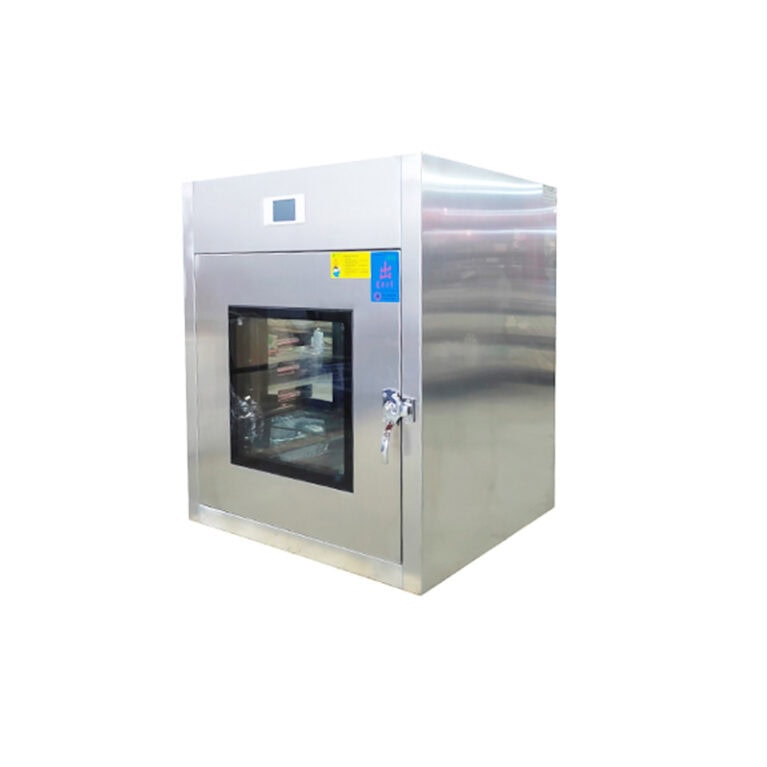
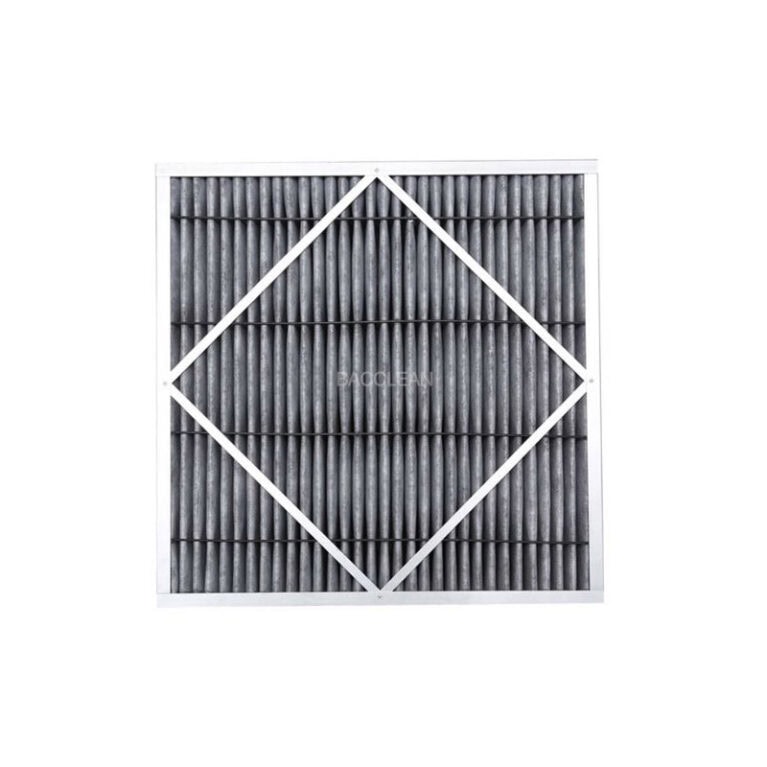
El filtro con ventana de transferencia incorporada (normalmente un filtro HEPA o ULPA de alta eficacia) es el componente principal para mantener su función de limpieza. El proceso de sustitución debe seguir estrictamente las normas de funcionamiento aséptico y sin polvo para evitar contaminar el entorno limpio dentro y alrededor de la ventana de transferencia. A continuación se detallan los pasos y precauciones de sustitución:
I. Preparativos antes de la sustitución
Confirmar las condiciones de sustitución
Cuando la superficie del filtro está dañada o deformada, o la resistencia detectada por el manómetro diferencial supera 1,5 veces la resistencia inicial (normalmente la resistencia de un filtro nuevo es de 200-250Pa, y es necesario sustituirlo cuando supera los 300-375Pa), o cuando alcanza la vida útil recomendada por el fabricante (generalmente 6-12 meses, dependiendo de la limpieza del entorno), debe disponerse su sustitución.
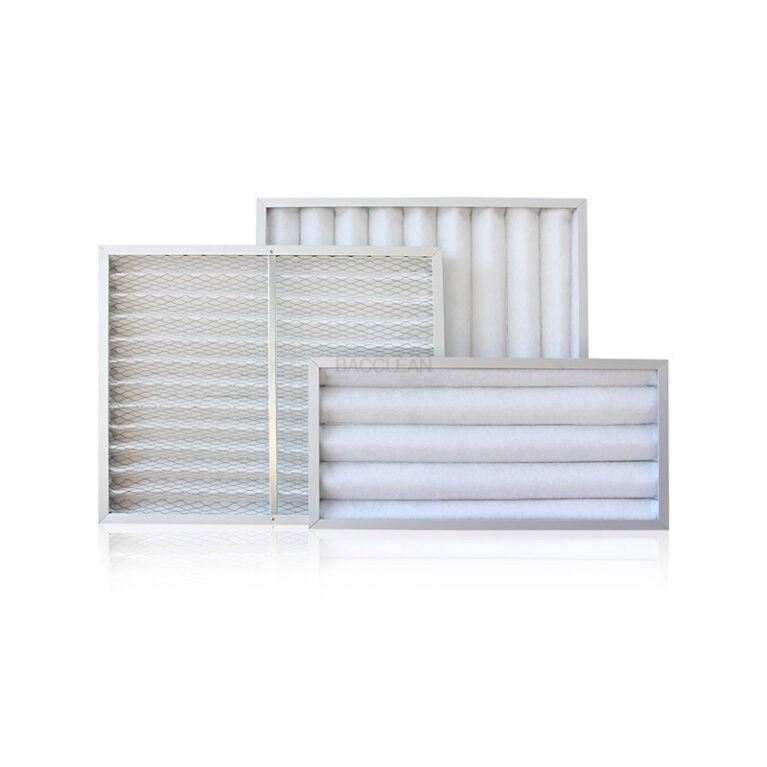
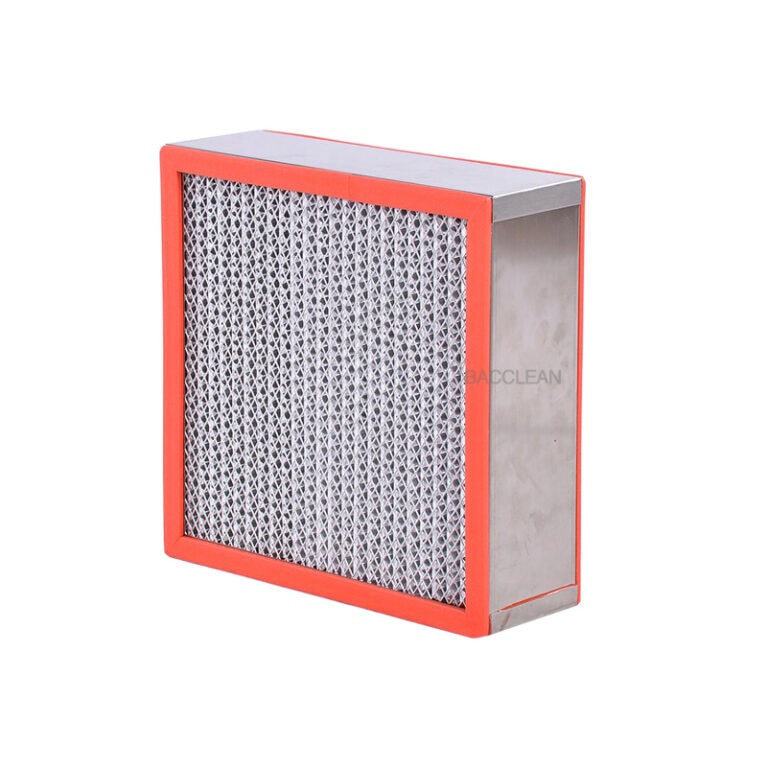
Prepare de antemano filtros nuevos del mismo modelo y especificación (preste atención al grado de eficacia de filtración, como los grados H13 y H14, que deben cumplir los requisitos de limpieza in situ), y compruebe si el embalaje de los filtros nuevos está intacto y si hay un certificado de conformidad.
Preparación de herramientas y consumibles
Herramientas: Destornillador (seleccione de cabeza plana/en cruz según el método de fijación del filtro), llave inglesa, paño que no suelte pelusa, cinta adhesiva especial (como cinta selladora o cinta sensible a la presión).
Consumibles de limpieza: alcohol médico 75%, agua estéril o agua pura.
Equipo de protección: Trajes limpios, guantes, mascarillas (si se opera en una zona limpia, debe cumplirse el nivel de protección de dicha zona).
Preparación medioambiental y de equipos
Opte por sustituirlo durante los periodos de no producción para evitar que afecte al uso normal.
Apague la fuente de alimentación de la ventana de transferencia y asegúrese de que el ventilador, la lámpara ultravioleta y otros equipos dejan de funcionar.
Si la ventanilla de transferencia está situada en una zona limpia, el entorno circundante debe limpiarse y desinfectarse (por ejemplo, limpiando el suelo y las paredes con alcohol). Si es necesario, se debe encender el aire acondicionado local limpio para mantener un entorno de presión positiva.
Ii. Pasos para la sustitución (tomando como ejemplo el "filtro de montaje superior/posterior" común)
Desmonte el filtro viejo.
Abra una puerta lateral de la ventana de transferencia (dependiendo de la posición de instalación del filtro, puede ser necesario retirar el panel decorativo o la puerta de inspección), y limpie el marco alrededor del filtro con un paño sin pelusa humedecido en alcohol para eliminar el polvo superficial.
Afloje el dispositivo de fijación del filtro: Si es del tipo encajable, simplemente tire del encaje. Si está fijado con tornillos, utilice un destornillador para quitar los tornillos (tenga en cuenta que debe clasificar y guardar los tornillos correctamente para evitar que se pierdan).
Retire con cuidado el filtro viejo para evitar sacudirlo o inclinarlo (para evitar que los contaminantes atrapados en su interior se dispersen). Ciérrelo inmediatamente en una bolsa sellada (ate bien la bolsa) y elimínelo como residuo peligroso (especialmente en escenarios como laboratorios farmacéuticos y biológicos).
Limpie el marco de instalación del filtro.
Limpie a fondo la superficie y los huecos del marco de instalación con un paño sin pelusas humedecido en alcohol para eliminar cualquier resto de polvo, sellador o manchas.
Compruebe si el marco está deformado u oxidado. Si es así, es necesario repararlo primero (por ejemplo, ajustando la planitud), de lo contrario hará que el nuevo filtro selle mal.
Instale un filtro nuevo.
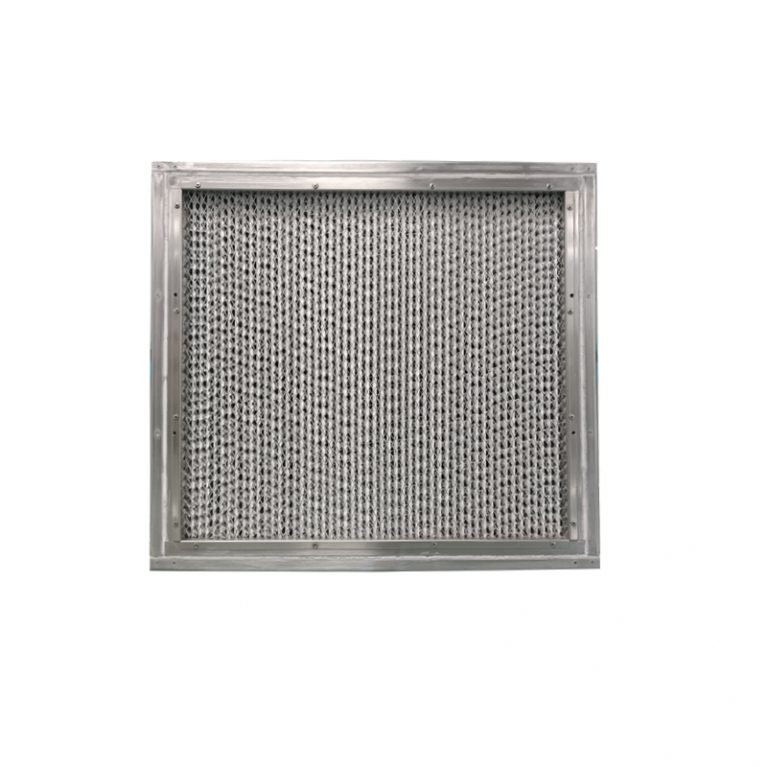
Abra el embalaje exterior del filtro nuevo (conserve el embalaje interior limpio y retírelo como último paso antes de la instalación) e inspeccione el aspecto del filtro: el papel filtrante no está dañado, la banda de goma de sellado está intacta y el marco no está deformado.
Coloque el filtro de acuerdo con la dirección del flujo de aire del filtro (normalmente marcado con una flecha "Airflow", que debe coincidir con la dirección del flujo de aire dentro de la ventana de transferencia, es decir, la flecha apunta hacia el interior de la ventana de transferencia), asegurándose de que está centrado y bien sujeto al marco.
Filtro fijo: Si es del tipo a presión, apriételo bien (para asegurar una distribución uniforme de la fuerza). Si está fijado mediante tornillos, apriete los tornillos en orden diagonal (para evitar la deformación del filtro debido a un apriete excesivo en un lado). La fuerza debe ser tal que el filtro no se afloje y no queden huecos evidentes.
Inspección y refuerzo de juntas
Empuje suavemente el borde del filtro con la mano para asegurarse de que no está suelto. Observe el ajuste entre el filtro y el marco. Si hay pequeños huecos, puede pegar cinta selladora especial (anchura ≥10mm) a lo largo del borde para garantizar que no haya fugas de aire sin huecos.
Si la ventana de transferencia está equipada con una tira de presión, es necesario volver a instalar la tira de presión para presionar firmemente el borde del filtro y mejorar el rendimiento de sellado.
Iii. Verificación y cierre tras la sustitución
Inspección de aspecto y funcionamiento
Cierre la puerta de la ventanilla de transferencia, conecte la fuente de alimentación, ponga en marcha el ventilador (si lo hay) y observe si el filtro presenta alguna vibración o ruido anormal.
Toque la periferia del filtro con la mano para sentir si hay alguna fuga de aire (si hay un flujo de aire evidente, indica que el sellado no es hermético y es necesario volver a comprobar el estado de fijación).
Control y registro de la presión diferencial
Ponga en marcha el ventilador de la ventana de transferencia. Después de que funcione de forma estable (entre 10 y 15 minutos), registre la diferencia de presión inicial (el valor de resistencia del nuevo filtro) como referencia para el control posterior.
Si las condiciones lo permiten, se puede llevar a cabo una detección de fugas por barrido (por ejemplo, utilizando un generador de aerosoles de PAO) para garantizar que no haya puntos de fuga en el filtro.
Limpieza y reinicio
Utilice un paño sin pelusas humedecido en alcohol para limpiar el interior de la ventana de transferencia y eliminar el polvo que pueda desprenderse durante el proceso de sustitución.
Organiza las herramientas, limpia el lugar y deshazte de los filtros viejos según la normativa (no los tires a discreción).
Rellene la fecha de sustitución, el modelo de filtro, la diferencia de presión inicial y otra información en el formulario de registro de mantenimiento del equipo para facilitar la trazabilidad posterior.
Iv. Precauciones
Evite la contaminación: Durante el proceso de sustitución, el operario debe mantener las manos limpias (usar guantes) y evitar tocar el papel filtrante del filtro (para evitar que las huellas de los dedos obstruyan el material filtrante o introduzcan contaminantes).
Compatibilidad: Es esencial utilizar un filtro que coincida con la ventana de transferencia (con el mismo tamaño y tipo de marco), de lo contrario puede provocar una instalación inestable o una mala estanqueidad.
Requisitos especiales del escenario: En las zonas limpias de grado A/B (como los talleres farmacéuticos estériles), la sustitución debe realizarse en un entorno estéril. Si es necesario, deben utilizarse cubiertas protectoras de flujo laminar para garantizar la esterilidad de toda la operación.
Mediante un proceso de sustitución estandarizado, se puede garantizar que el filtro consiga el mejor efecto de purificación, evitando el riesgo de disminución de la limpieza o de contaminación cruzada causada por una instalación incorrecta.