I will prepare for you a detailed, step-by-step standard procedure specifically about the replacement of the horizontal flow ultra-clean workbench and the HEPA filter. It is straightforward and can be followed directly. There are no unnecessary details. This procedure can be used as an SOP in both workshops and laboratories.
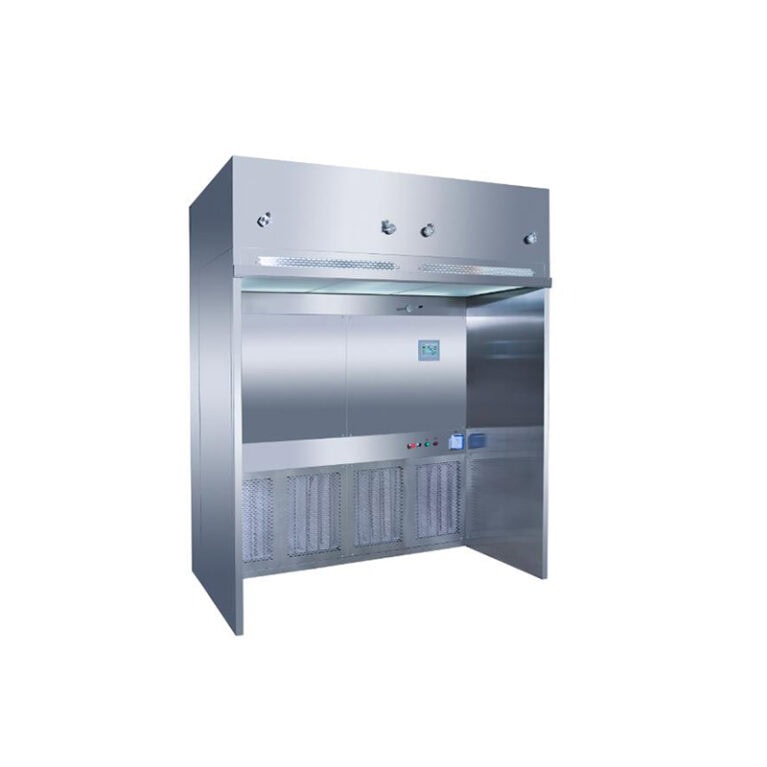
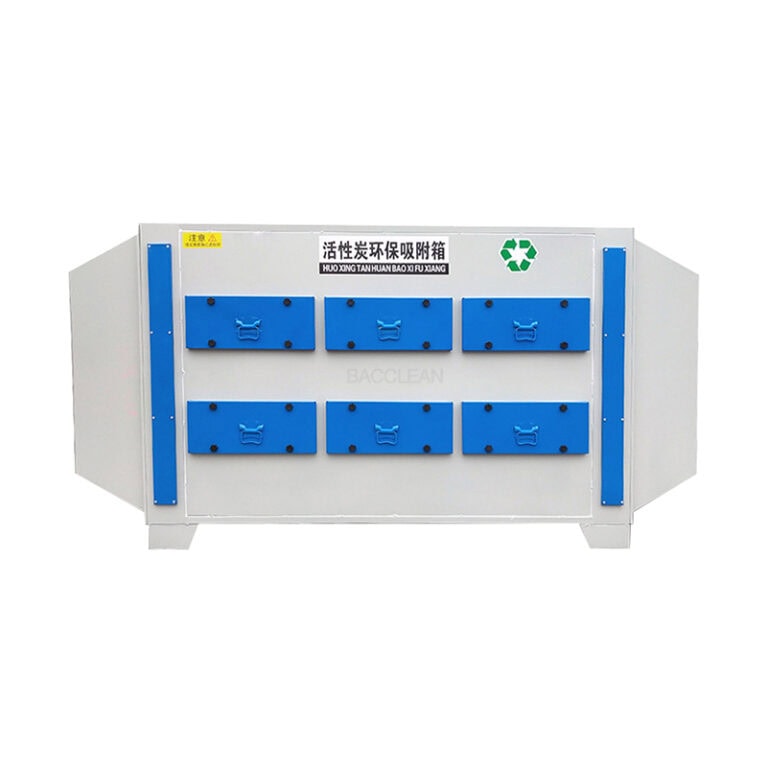
Horizontal flow ultra-clean workbench
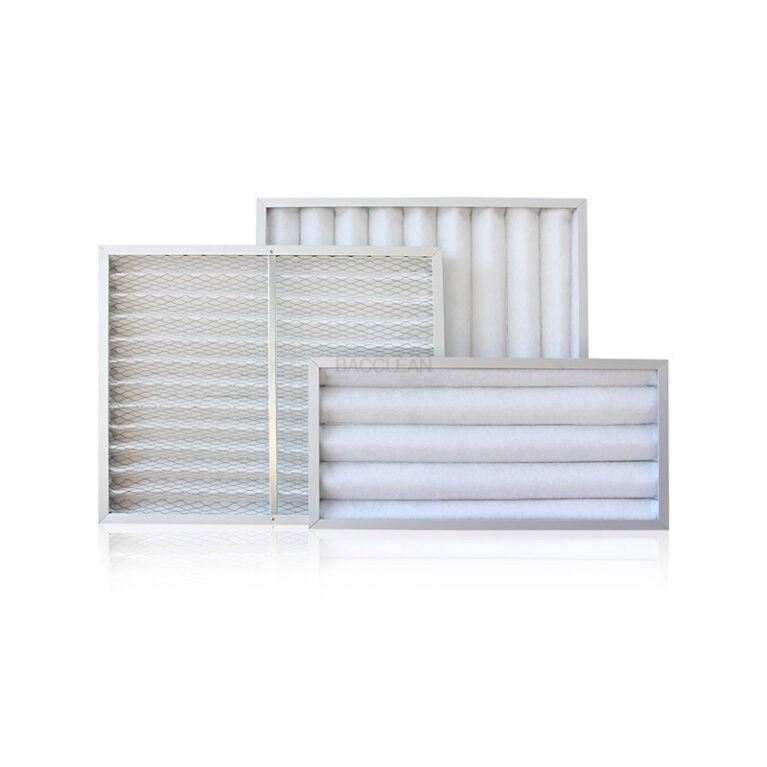
Detailed steps for HEPA filter replacement
1. Before replacement (must be done first)
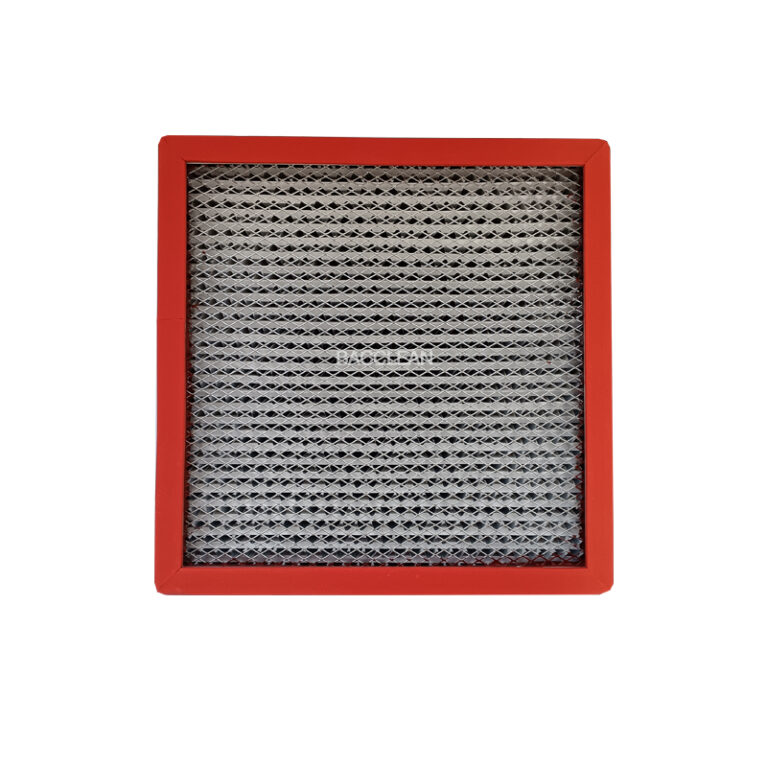
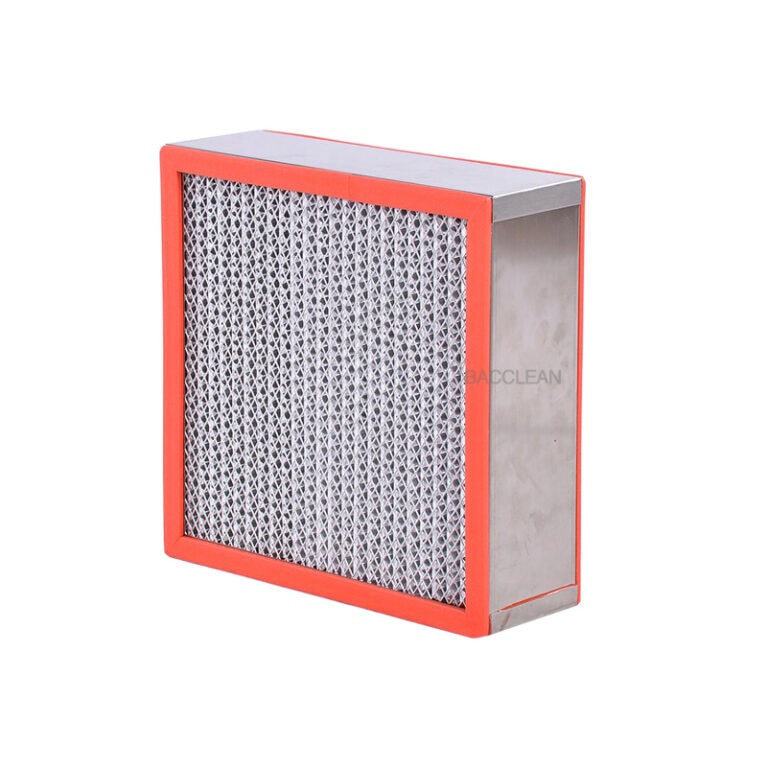
Confirm that it is a HEPA filter
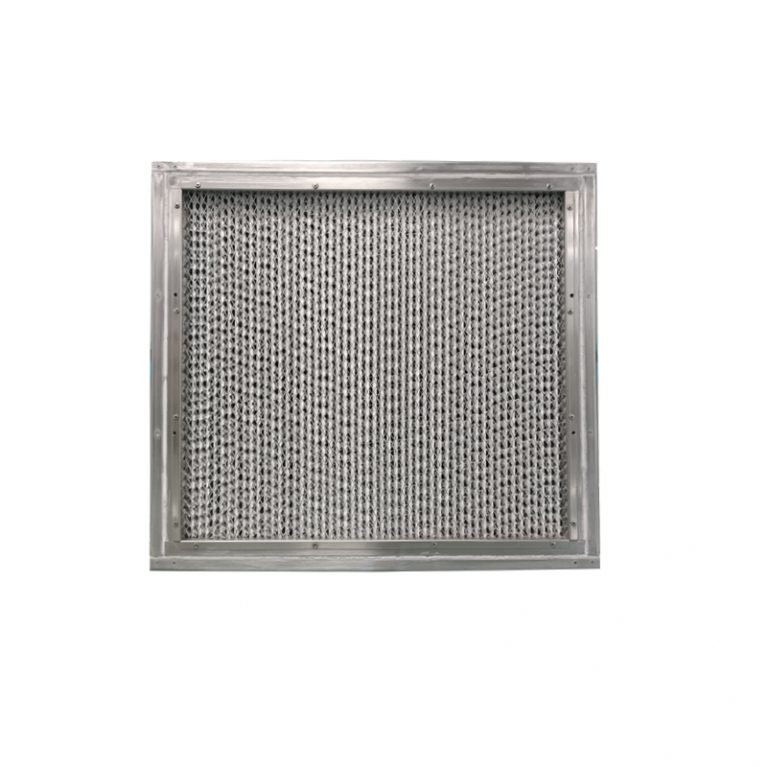
For horizontal flow workbench: The HEPA filter is located at the rear air supply position, not at the return air inlet.
It cannot be washed or tapped. It is a one-time consumable.
Replacement signal (any one of the following conditions is sufficient)
The pressure difference reading significantly increases, exceeding the normal value by more than 30%
The wind speed significantly decreases and the cleanliness does not meet the standard
It has been in use for 6-12 months (frequent use)
The filter is deformed, leaking, or the rubber strip is aging
Preparation items
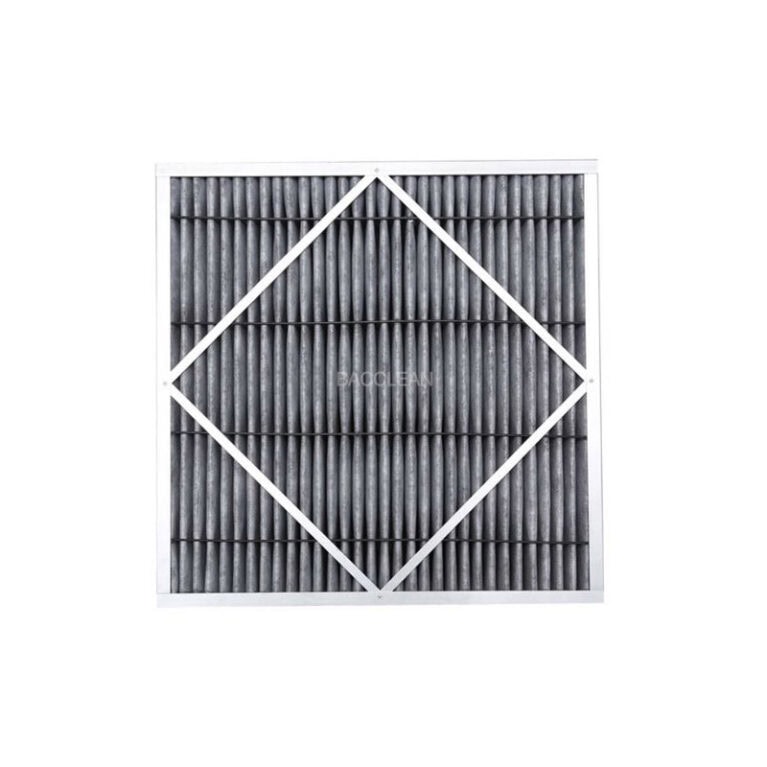
Same model new HEPA filter (with certificate of conformity)
Cross-head screwdriver
Dust-free cloth + 75% alcohol
Dust-free gloves, mask, clean suit
Seal bag (for old filter)
Safety prerequisite
Must be powered off! Unplug the plug!
The operation room should be quiet, with few people, no wind, and less dust.
2. Formal replacement steps (no omission)
1. Clean the exterior of the workbench and the inspection door
Use a dust-free cloth dipped in alcohol to wipe:
The rear of the workbench, the inspection door, and the surrounding shell.
Purpose: To prevent dust from falling in when opening the door.
2. Open the inspection door of the HEPA filter
The HEPA filter is generally located at the back of the workbench
Use a screwdriver to unscrew the fixing screws of the inspection door
The screws should be placed on the dust-free cloth and not dropped or landed on the ground
Gently remove the inspection door and place it flat on the dust-free cloth
3. Remove the old HEPA filter (the most critical step)
The movement must be slow, gentle, and without shaking!
Loosen the pressure strip / latch / fixing piece of the filter
Hold the filter frame with both hands and slowly pull out horizontally
Strictly prohibited:
Shaking Flip
Collision / Accident
Touch the filter paper with your hands
After taking it out, immediately put it into a double-layer sealed bag and tie the opening tightly
To prevent secondary pollution of the environment by dust accumulation.
4. Deep cleaning of the installation slot and the sealing rubber strip
This step directly determines whether the cleanliness can meet the standards.
Wipe with a dust-free cloth + 75% alcohol:
The four sides of the installation slot frame
The entire sealing rubber strip
The inner side of the duct (lightly wipe, do not dig deeply)
Key checks:
Whether the rubber strip is aging, cracking, missing pieces, or falling off
If there are problems, the rubber strip must be replaced first
5. Install the new high-efficiency filter
Open the packaging of the new filter, do not touch the filter paper
Check the arrow direction on the filter:
→ The arrow must be consistent with the air flow direction (blow forward)
Hold the frame with both hands, push it smoothly into the installation slot
Ensure:
The four sides are completely sealed
The rubber strip is not distorted, has no gaps, and does not leak air
Fasten the pressure strip / latch, and fix evenly
Do not tighten too much to cause the frame to deform
6. Put the maintenance door back in place
Put the maintenance door back to its original position
Screw the screws diagonally (to ensure sealing)
Wipe the external dust again
III. After replacement, necessary debugging and verification must be done
1. Start the machine for empty blowing
Power on → Turn on the fan
Open the glass door to the standard operating height (10-15cm)
Run empty for 30-40 minutes
Blow away the particles brought in during installation.
2. Wind speed check (passing standard)
Normal wind speed of the horizontal flow workbench: 0.3-0.5 m/s at each point is uniform, with no obvious difference in strength.
3. Cleanliness verification (important)
Use an air particle counter to detect:
0.5μm particles ≤ 3520 particles / m³
5μm particles ≤ 20 particles / m³
If it meets the requirements, it is considered as **Class 100 (ISO 5)** qualified.
4. Pressure difference check
The pressure difference meter should return to the normal range and no longer be high.
IV. Record and archive (compliance must be met)
Each replacement must be recorded:
Replacement date
Filter model, number
Before replacement phenomenon (pressure difference / wind speed)
After replacement wind speed, pressure difference, cleanliness results
Operator
V. Absolutely prohibited actions (red line)
Do not disassemble the high-efficiency filter while powered on
Old filters cannot be shaken, knocked, or left empty
Filter paper cannot be touched, wiped, or washed
Arrow direction cannot be installed in reverse
Sealing rubber strip cannot be faked with tape
After replacement, do not use directly without verification