I. First, clarify: Daily inspection = two parts
Functional daily check (per shift / daily)
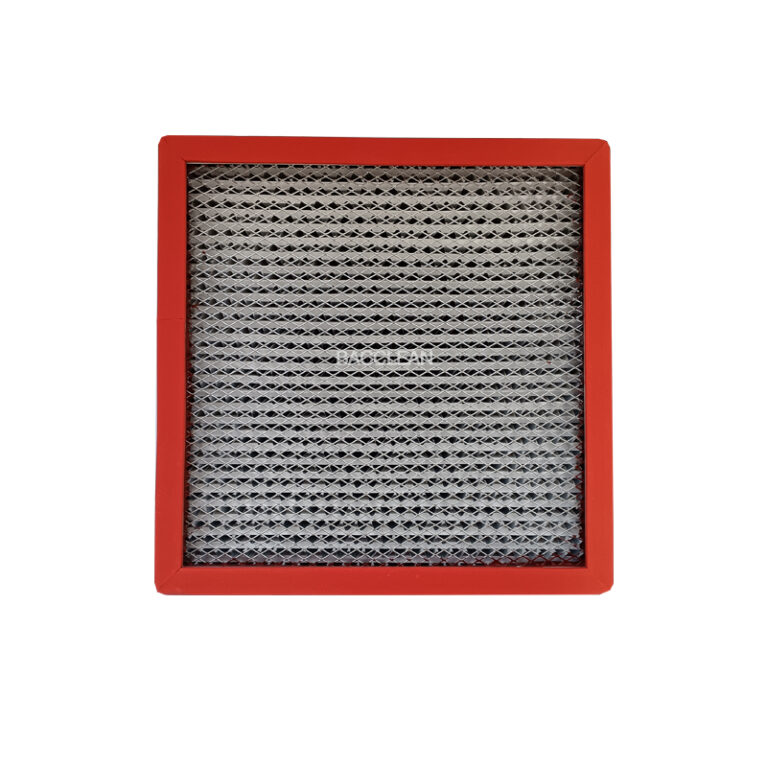
DOP/PAO high-efficiency filter leak detection (performed regularly, not measured every day during daily inspection)
I will provide you with the most standard, detailed, and writeable SOP process.
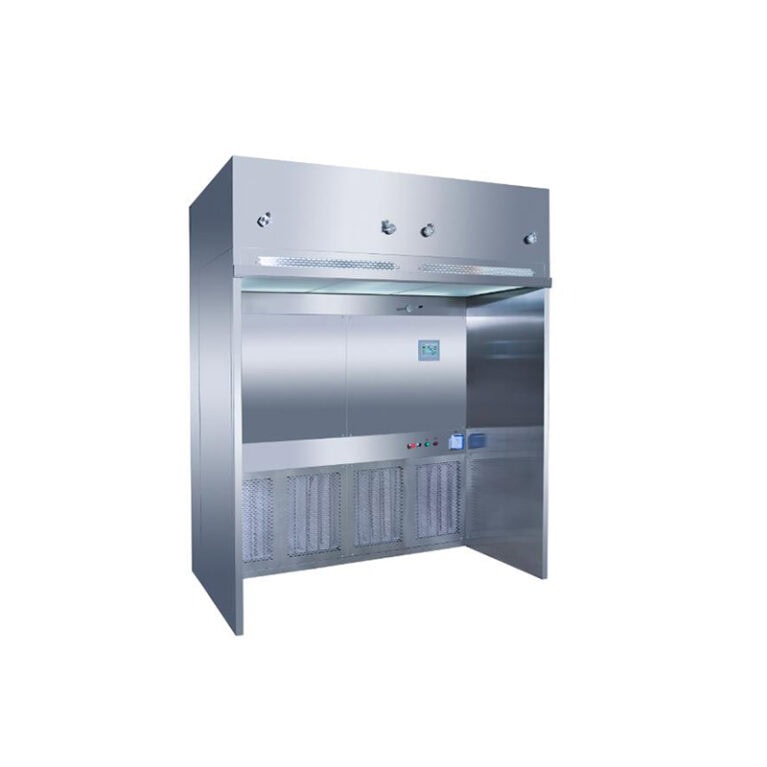
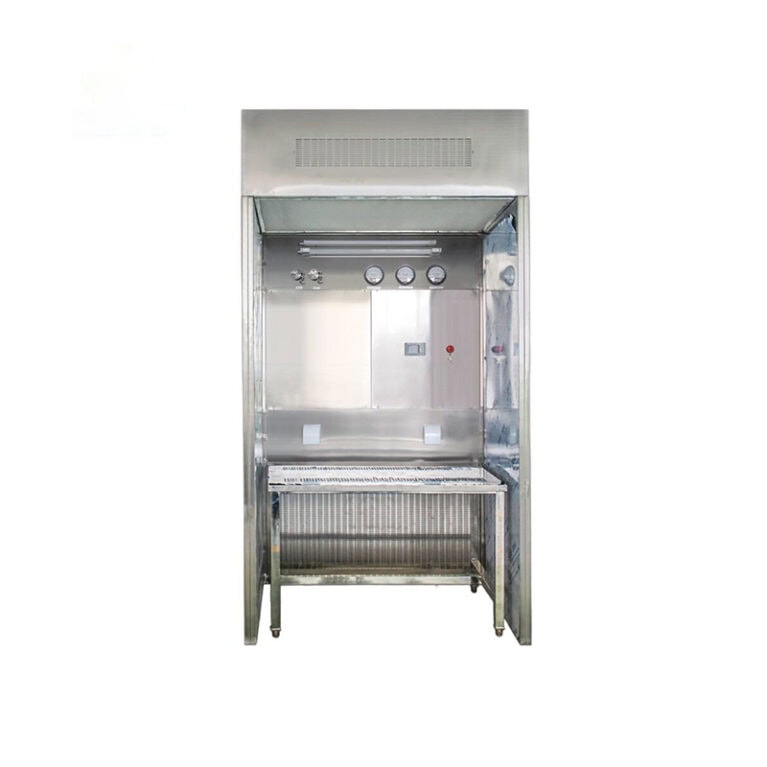
II. Daily functional check for DOP/PAO laminar transfer window (per shift must be done)
1. Appearance and cleanliness
Check the inner and outer surfaces of the transfer window, glass, door frame for no stains, no damage, no rust
Seal strip flat, no deformation, no detachment
No debris, no water accumulation, no odor inside
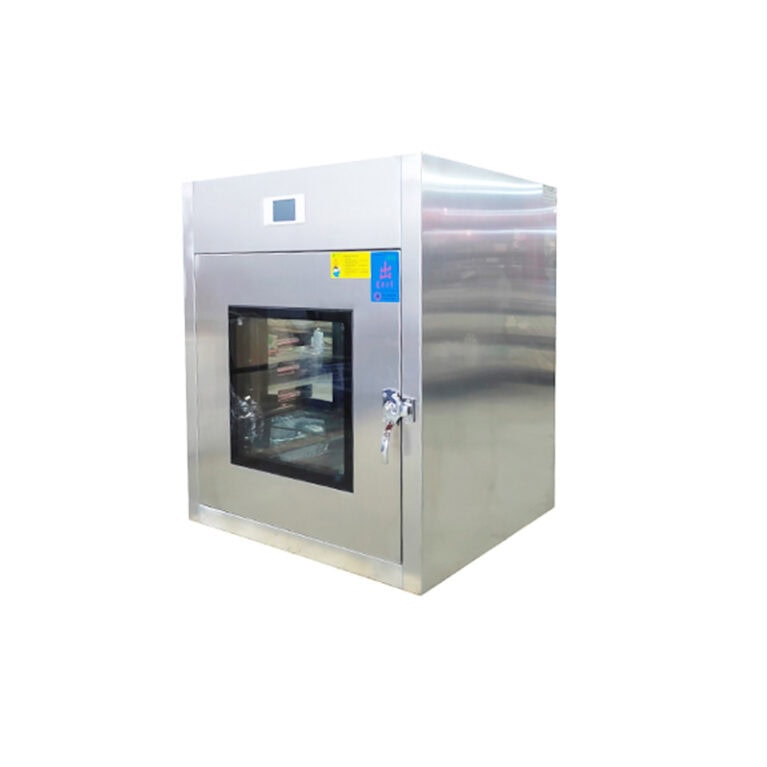
2. Interlock function
When one side door is opened → the other side must be unable to open
After closing, the interlock automatically resets, with normal sound and light indication
3. Fan / laminar operation
After starting, the fan operates smoothly, without abnormal noise, without vibration
The airflow at the outlet is uniform, without obvious turbulence
The operation indicator light is normal
4. Ultraviolet germicidal lamp
The lamp lights up normally, without flickering, without blackening
The timing is accurate, the cumulative usage time has not exceeded the lifespan (generally 9000 hours)
5. Pressure difference (if any)
The pressure on the clean side is higher than that on the non-clean side
The pressure difference meter shows normal, without zero drift
6. Self-cleaning function
When starting the self-cleaning, the countdown is normal
After the end, it stops automatically / gives a prompt
All of the above are normal, then the daily function is qualified.
III. Detailed operation steps for DOP/PAO leak detection (formal inspection)
0. Preparation work
Instrument: Aerosol photometer, aerosol generator, sampling gun
The transfer window runs for ≥ 10 minutes in advance
The clean area has no production, no dust, no personnel movement
The instrument is preheated, calibrated, and zeroed
Step 1: Upstream dust generation (establish the challenge concentration)
Connect the aerosol generator to the upstream air duct / static pressure box of the transfer window
Turn on the generator, stabilize the dust generation
The photometer samples the upstream concentration, controlled within:
10 – 30 μg/L (stable for 3 – 5 minutes)
The photometer is set to:
Mode: % Leakage Rate (Penetration Rate)
Alarm value: ≤ 0.01%
Step 2: Downstream leak detection scan (core step)
The sampling gun scans the outlet face of the high-efficiency filter
Distance from the filter surface: 1 – 2 cm
Moving speed: ≤ 5 cm/s
Scan method:
S-shaped reciprocating scan
Rows and rows overlap ≥ 50%
Full coverage: the entire filter surface + four sides of the frame + sealant strip + installation joint
Must be focused on scanning the following positions:
Filter corners
Frame sealing
Filter and frame joint
Pressing device, screw hole area
Transfer window inner wall joint
Step 3: Leak determination
Any point > 0.01% → Determine leakage
Continuous alarm → Mark the position, stop scanning
Step 4: Leak handling
Minor leakage:
Repress the frame
Replace the sealant strip
Repair the sealant
Filter material damage, pinholes, unable to repair:
Must replace the high-efficiency filter
After handling → Repeatedly scan for leak detection until qualified
Step 5: Inspection conclusion
Turn off the dust generator, continue to run the fan for 5 – 10 minutes to remove air solvents
Clean the inside of the transfer window
Turn off the ultraviolet, fan, and power supply
Fill in the DOP leak detection record
IV. DOP leak detection qualification standards (GMP general)
No leakage on the filter surface of the high-efficiency filter
No leakage at the frame and installation area
Leakage rate ≤ 0.01% at all scanning points
All fan, laminar, interlock, pressure difference, self-cleaning are normal