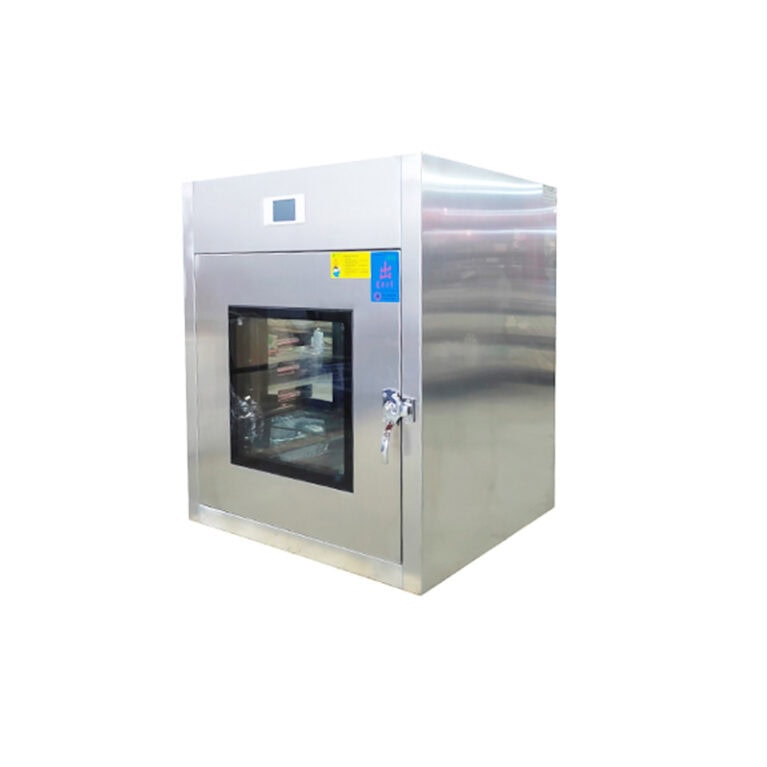
The differential pressure gauge reading of the air shower transfer window is unstable. The step-by-step solution approach is as follows:
The core principle for solving the problem is to start from the easy to the difficult, from the outside to the inside, first eliminate operational and instrument issues, and then handle equipment hardware faults. Each step can be operated independently, and after completion, retest the differential pressure to ensure the reading is stable.
1. Step 1: Reset the standard working condition and eliminate invalid readings
Many reading fluctuations are caused by non-compliant working conditions, not equipment failures. Complete the following operations before making a judgment:
Fully close the doors on both sides of the air shower transfer window, confirm that the door bodies are fully latched and the sealing strips are in close contact, with no gaps.
Remove all items from the transfer window to ensure that the nozzles and return air channels are not obstructed, avoiding air flow disorder.
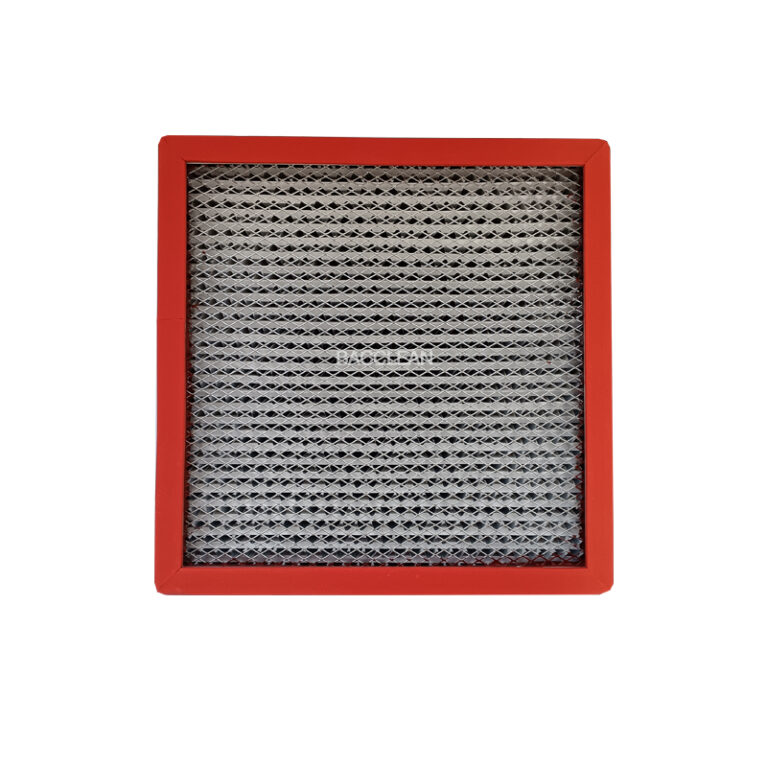
First clean / inspect the primary filter, remove surface dust, if it is severely clogged, directly replace it.
Connect the power supply, start the air shower function, and run stably for 3 to 5 minutes. Wait until the fan speed and air flow are completely stable before observing the pointer of the differential pressure gauge.
If the pointer is stable at this time, it indicates that the fluctuation is caused by improper operation, item obstruction, or initial filtration blockage. In the future, only need to follow the operation procedures.
2. Step 2: Repair the differential pressure gauge and pressure guiding tube (the most common and easiest to solve)
This is the primary fault point for unstable readings. Follow the sequence for handling:
1. Calibrate the zero position of the differential pressure gauge
Operation: Completely power off and stop the machine, wait for the fan to stop and there is no air flow inside the chamber, check if the pointer points to the zero mark.
Treatment: If there is an offset, use a screwdriver to adjust the zero position calibration knob on the dial to precisely adjust the pointer to the zero position; if the zero position cannot be fixed and the pointer continues to drift, directly replace the pressure differential gauge of the same specification.
2. Check and handle the problem of the pressure guiding tube
| ظاهرة الخلل | Resolve the operation |
| Joint loosening and air leakage | Check each connection between the pressure-tapping pipe and the pressure differential gauge, as well as the joints of the equipment housing. Re-tighten them, and use sealing tape to assist in sealing to prevent air leakage. |
| Pipeline bending and flattening | Straighten all the pressure-tensioning pipes, remove any dead bends or compressed areas, ensure the pipeline is unobstructed, and replace the pressure-tensioning pipes if necessary. |
| Pipeline blockage, dust accumulation / water accumulation | Use clean and dry compressed air (with a pressure of ≤ 0.3 MPa) to blow the pressure guiding tube in the reverse direction from the end of the differential pressure gauge, to remove dust and condensate water. |
| The pipeline is connected in the wrong direction. | Refer to the equipment manual to confirm that the positive pressure end is connected upstream of the high-efficiency filter, and the negative pressure end is connected downstream. Reversing the connection will result in abnormal readings and fluctuations. Reconnect correctly. |
3. Replace the faulty differential pressure gauge
After completing the above operations, if the pointer still does not move regularly or cannot stabilize, or if the dial is damaged or the mechanism is stuck, directly replace the differential pressure gauge of the same range and accuracy, install it, and re-calibrate the zero position.
III. The third step: Solve the problems of cabin sealing and air flow disturbance
Failure of sealing and turbulent air flow will cause continuous pressure changes, manifested as significant fluctuations in readings:
Inspect the sealing of the door body
Check whether the door sealant is aged, deformed, broken, or fallen off. If there are any problems, directly replace the same specification sealant;
Adjust the hinges of the door body to ensure that the sealant and the door frame are fully adhered and have no gaps after the door is closed.
Repair the interlock function of the door
If the interlock fails and both doors unlock simultaneously, it will cause air convection and sudden pressure changes, requiring repairing the door magnetic switch and interlock controller to ensure that when one side of the door is opened, the other side is completely locked.
Standardize item transfer
During daily use, items must not be stacked too high or too full. Do not block any air shower nozzles or return air filters to ensure stable air flow circulation.
IV. The fourth step: Solve abnormal problems of the filtration system
Fluctuations in the resistance of the filtration system will indirectly lead to unstable differential pressure readings:
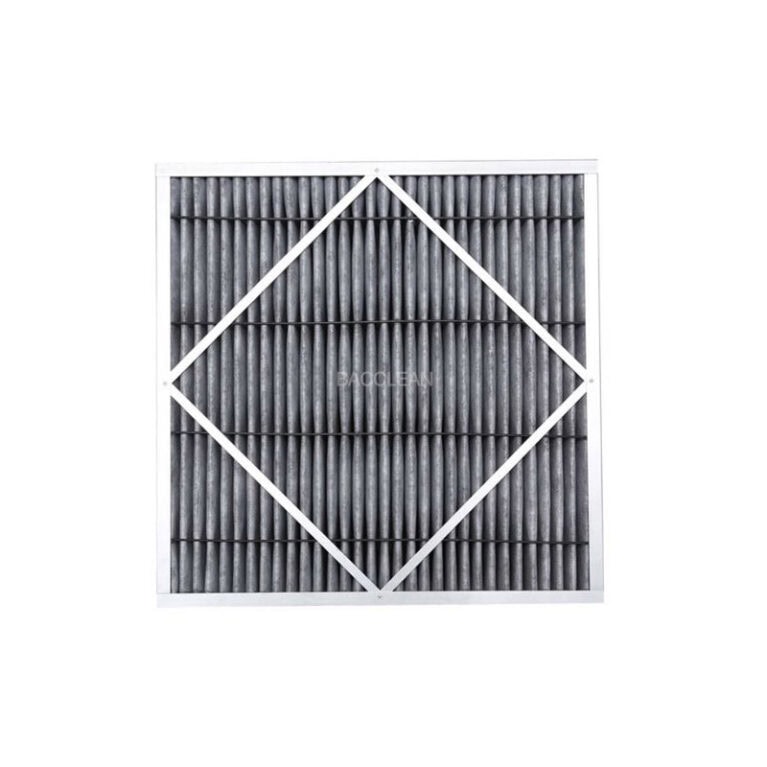
Completely handle the primary filter
The primary filter is an efficient pre-barrier. If it is partially blocked or damaged, it will cause the air volume entering the high-efficiency filter to fluctuate greatly.
Treatment: For detachable primary filters, use compressed air to blow from the inside out, or wash with water and dry; if damaged, deformed, or still blocked after cleaning, directly replace it.
Repair the sealing of the high-efficiency filter
The sealing strips around the high-efficiency filter are aging or not installed properly, causing local air leakage and fluctuating resistance.
Treatment: After shutting down the equipment and cutting off the power supply, open the maintenance port of the high-efficiency filter, re-tighten the filter, replace the aged sealing strips, and ensure there is no gap at the sealing surface; if the filter material is damaged or partially collapsed, directly replace it.
V. The fifth step: Solve problems with the fan and electrical system
Such faults usually accompany abnormal noise and vibration from the fan, requiring professional personnel to handle:
Investigate the fan failure
Fan blades are clogged with dust, bearings are worn, or the fixing screws are loose, which will cause unstable rotation speed and fluctuating air volume.
Treatment: Clean the fan blades of dust, tighten the fixing screws of the fan; if there is abnormal noise, severe vibration, or unstable rotation speed during operation, repair or replace the fan.
Stabilize the power supply voltage
Voltage fluctuations will make the fan output power unstable, and the air pressure will change accordingly.
Treatment: Use a multimeter to test the power supply voltage of the equipment to confirm whether it is within the rated range; if the voltage fluctuation is large, install a voltage stabilizing power supply to ensure stable power supply.
VI. On-site standardized troubleshooting process (recommended to follow this)
Shut down, reset to the original condition: Close both doors, clear the items in the cabin, and clean the primary filter.
Cut off the power supply, calibrate the zero position of the differential pressure gauge, check the pressure guiding tube (tightening, blowing, straightening, confirming positive and negative pressure).
Restart the air shower and observe after stable operation. If there are still fluctuations, check the door sealant, interlock function.
If still abnormal, shut down for maintenance of the high-efficiency filter sealing, and replace the high-efficiency filter if necessary.
Finally, check the operating status of the fan and power supply voltage, and handle hardware faults.
After all problems are solved, record the new initial differential pressure, and monitor according to the standard in the future.
VII. Preventive measures
Before each operation, check the closure of the door body and the status of the door sealant, and standardize the placement of items.
Clean the primary filter weekly to avoid blockage affecting the airflow at the end.
Calibrate the zero position of the differential pressure gauge once a month and check the status of the pressure guiding tube.
After installing a new filter, be sure to record the initial differential pressure, establish a ledger, and facilitate subsequent comparison.